Hi everyone! In this weeks blog post, I will be talking about how I brought my (dads) Hero Impulse adventure motorbike back to life in 10 days!
(5 minute read)
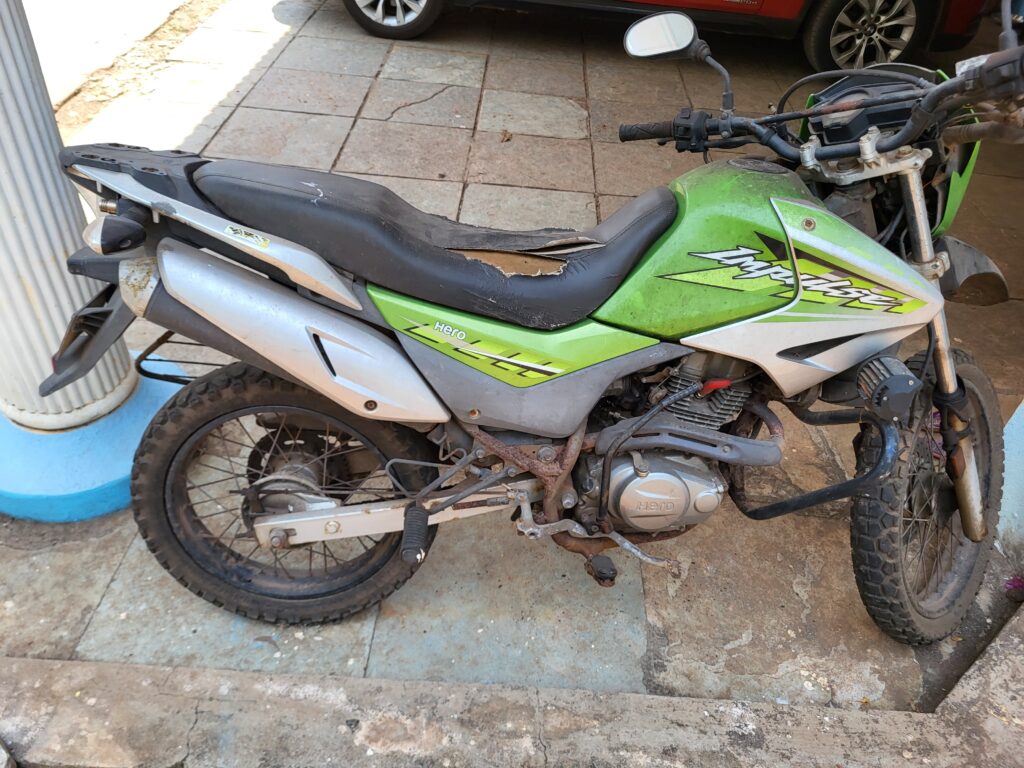
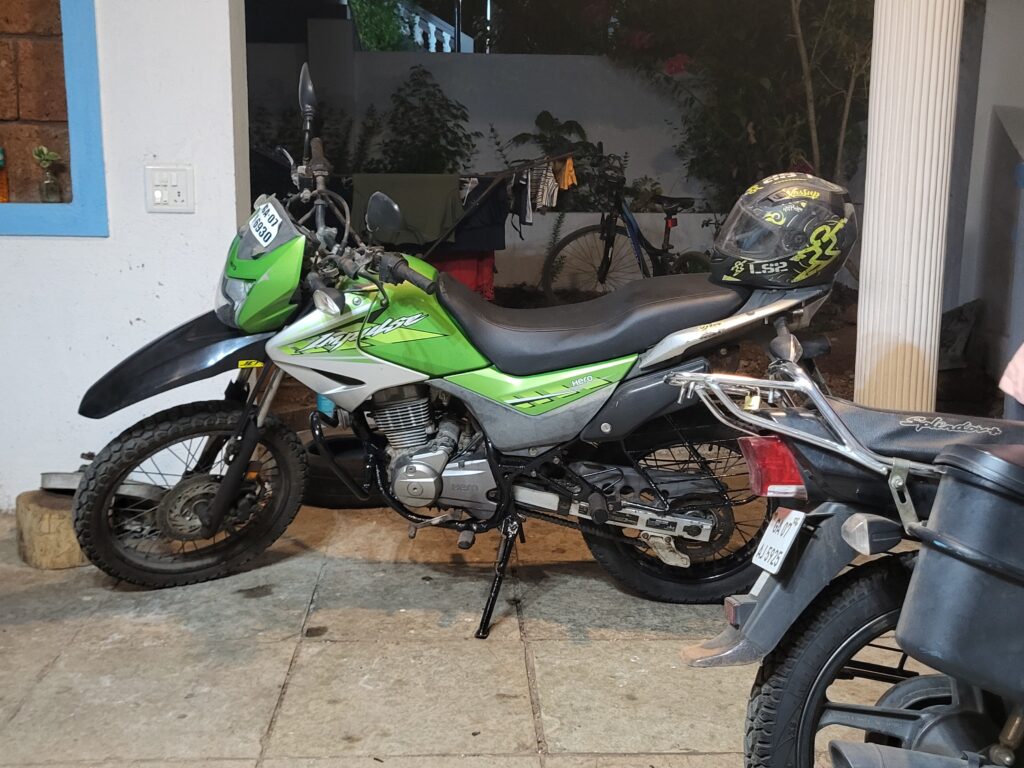
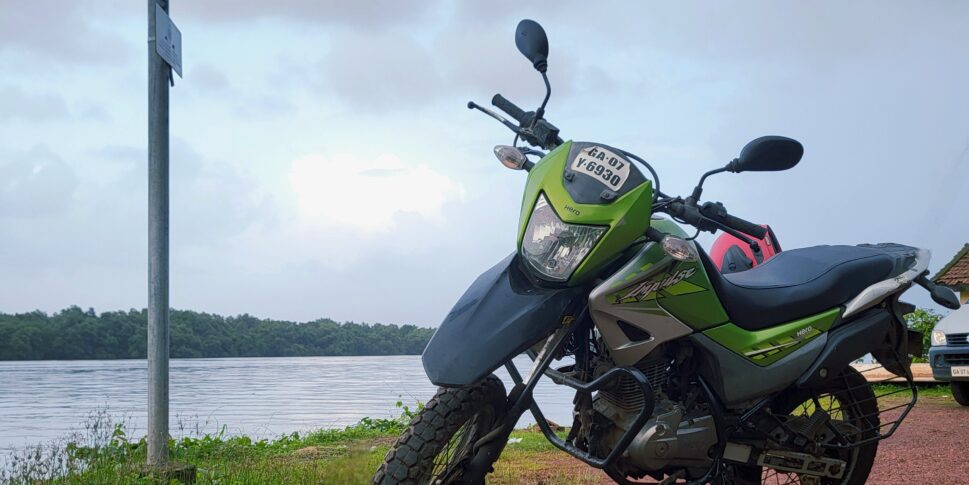
This grassland green 150cc off-roading motorcycle had been lying in my garage unused for 2 years now. It’s glory days of climbing the rough mountain terrains of Pune, riding the steep curves of the western ghats (and of-course scrambling through Goa’s infamous potholes) were supposedly over. It had been battered by two monsoons and desiccated by the scorching heat of the Goan summer. The fuel tank was parched, the engine would not start, its battery had been depleted, its seat was torn, its chassis was rust-covered not to mention a plethora of other internal engine and electronic issues.
Hero Impulse
The Hero Impulse is the predecessor to today’s popular Hero XPulse. It was India’s first adventure bike in the 150cc segment, however it was later discontinued in 2014/2016 due to poor sales. It was introduced to meet the needs of off-roading enthusiasts.
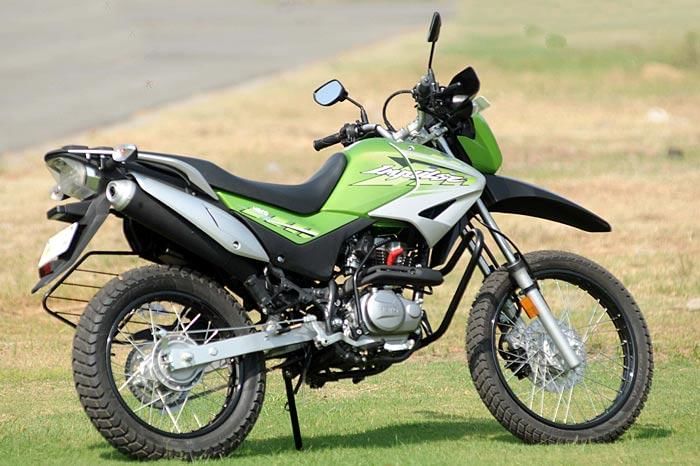
As my interest in cars and bikes grew over time, I had covertly set my eyes on the Impulse. As soon as my 12th grade board examinations were over, I challenged myself to restore the bike to its former glory and potentially modify it to be even better. The ultimate challenge was to get the bike running and usable on the tightest budget, without ever leaving my garage.
Phase 1
In this blog post, we will only cover Phase 1 of the restoration project, which is the “Operational” phase. I will share a breakdown of the costs at the end of the blog post.
Day 1 – 1 May 2025
Assessment and Disassembly
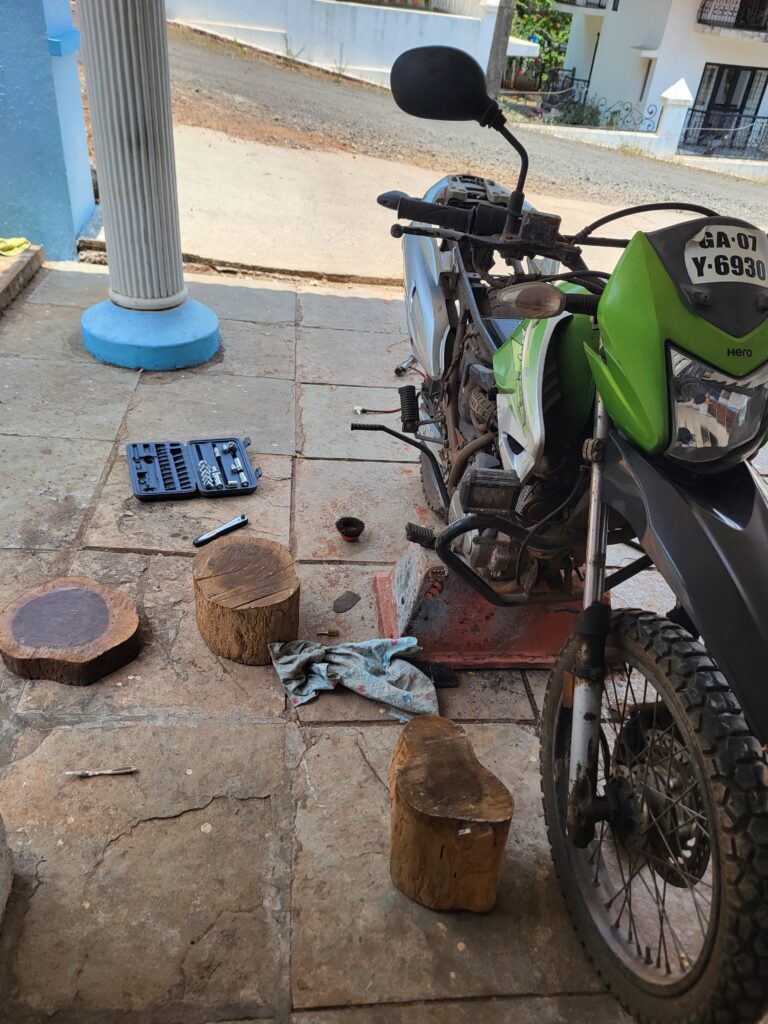
On the first day, I assessed all the major issues with the bike that needed prompt attention. I disassembled a few parts with absolutely zero mechanical knowledge and the help of YouTube. It was an incredible learning experience, as I learned about different parts, sizes of bolts and how each panel was connected and needed to be put back together.
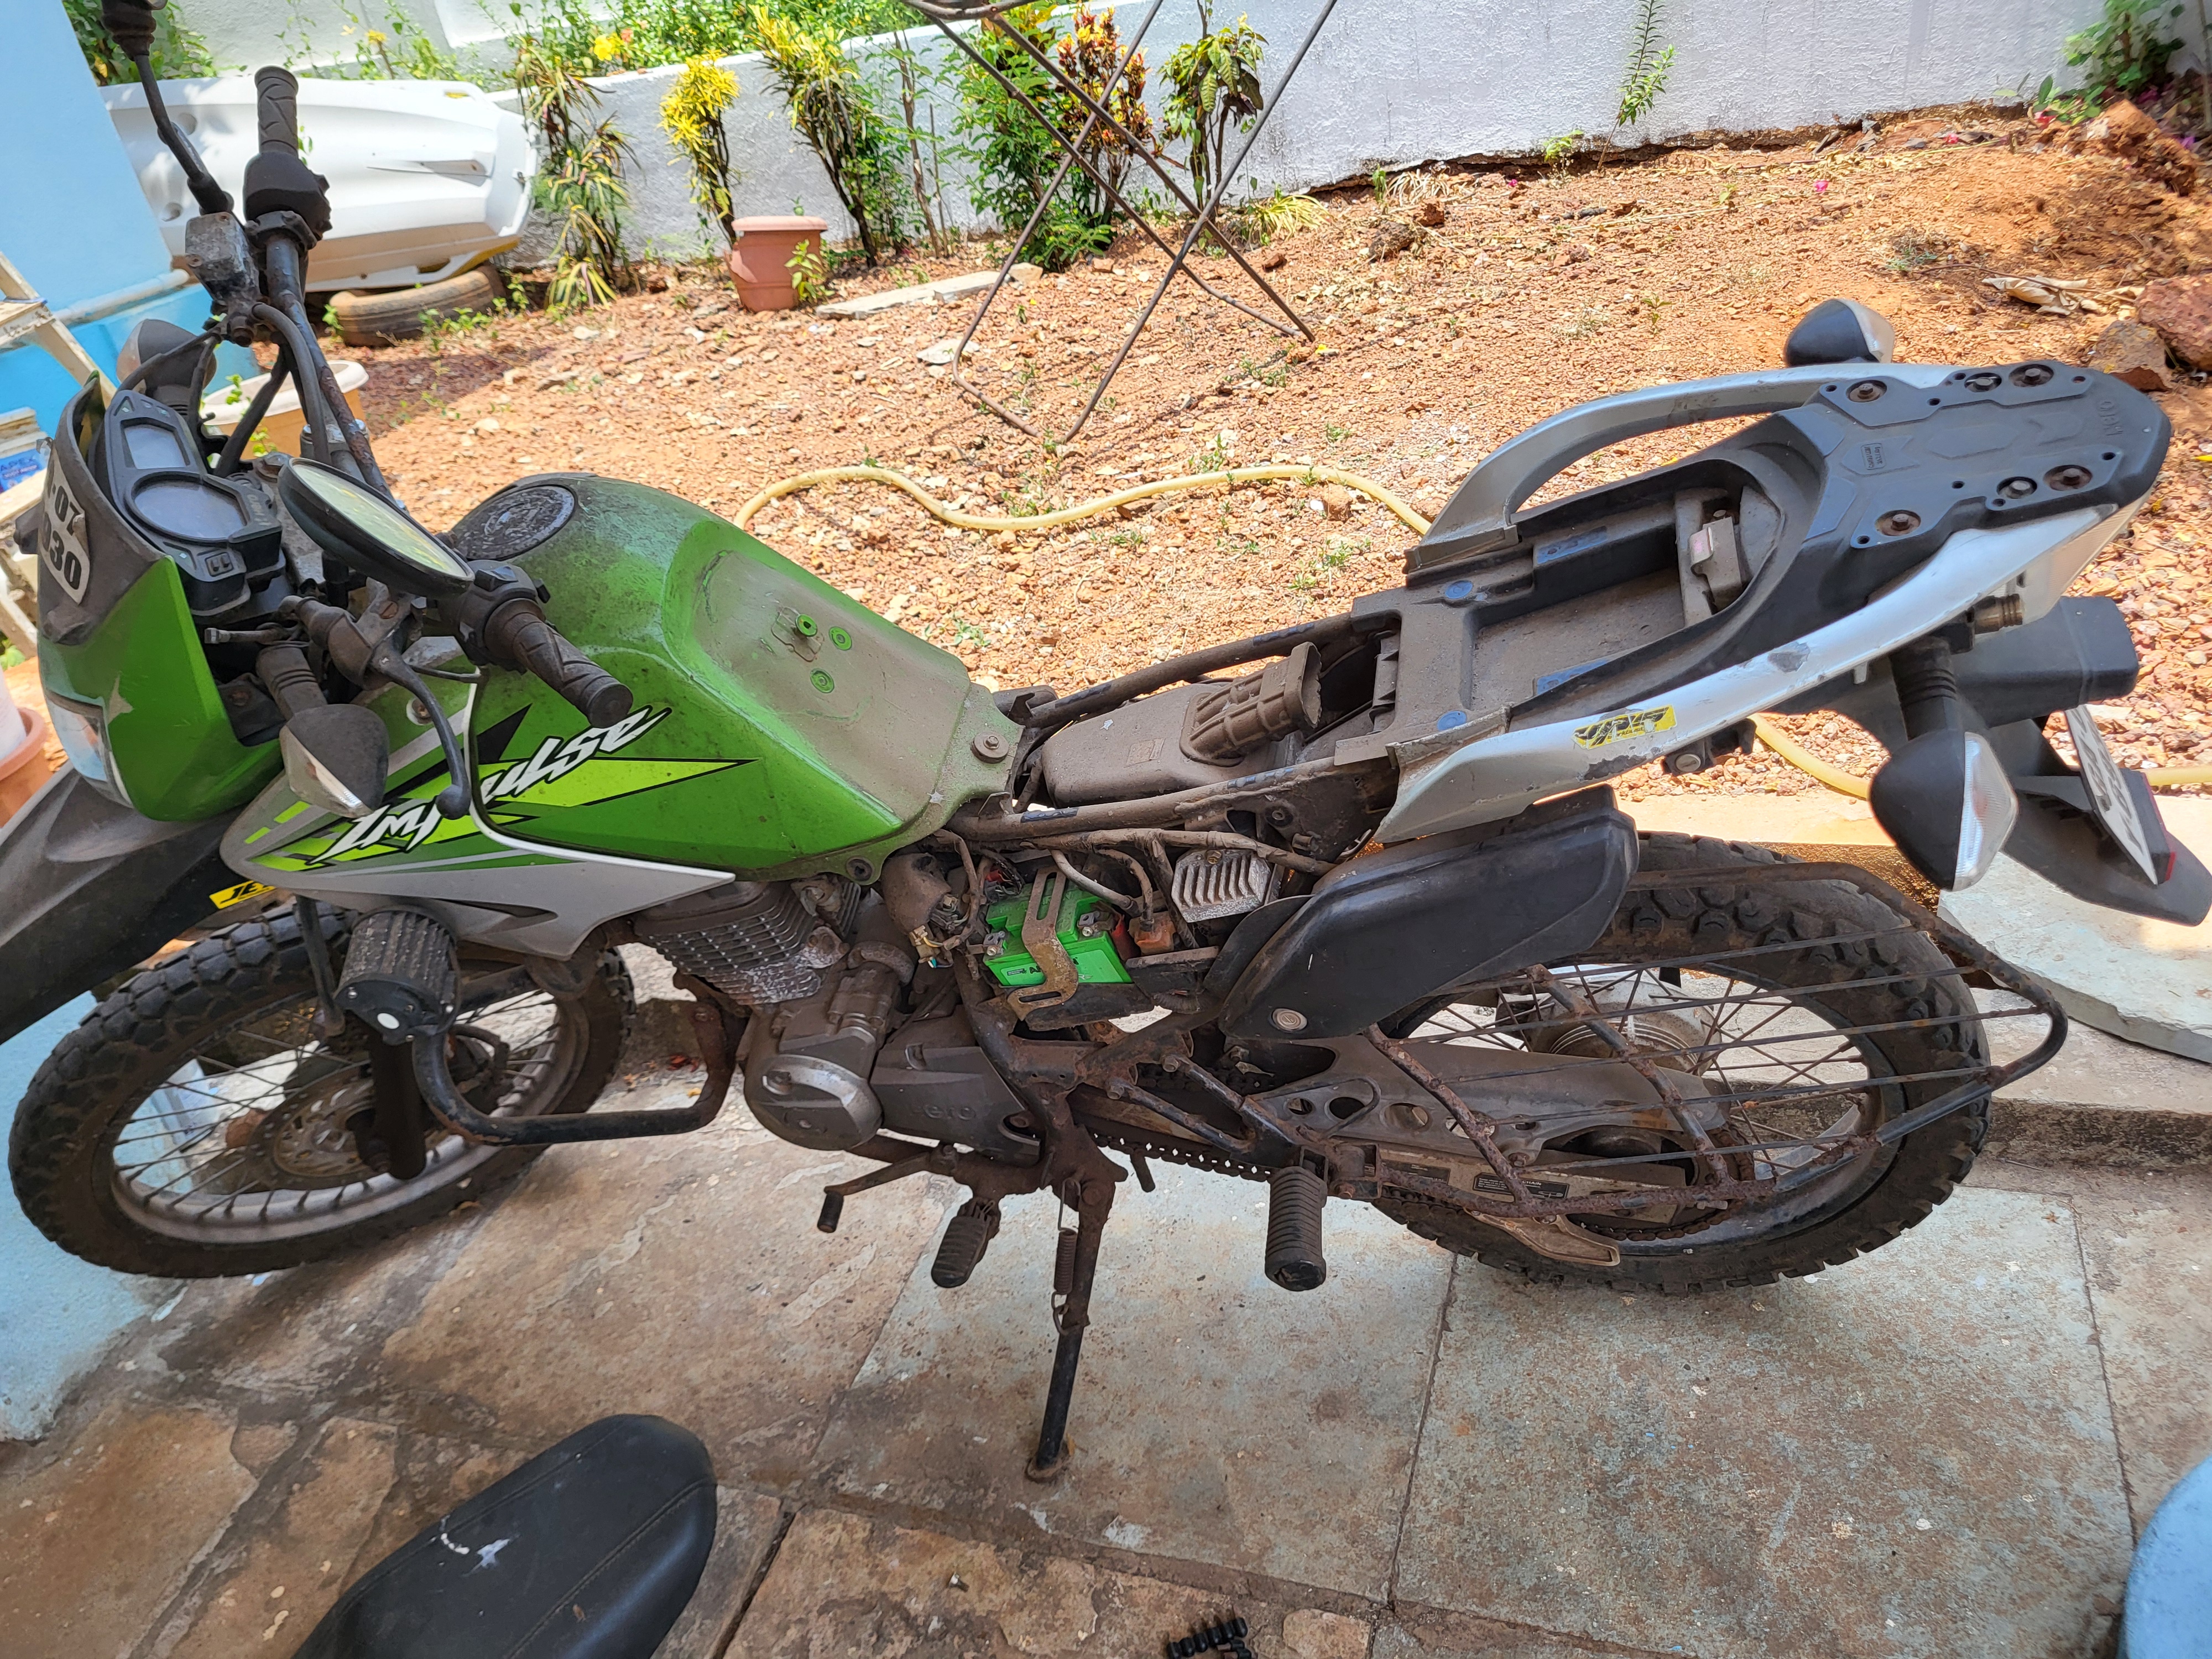
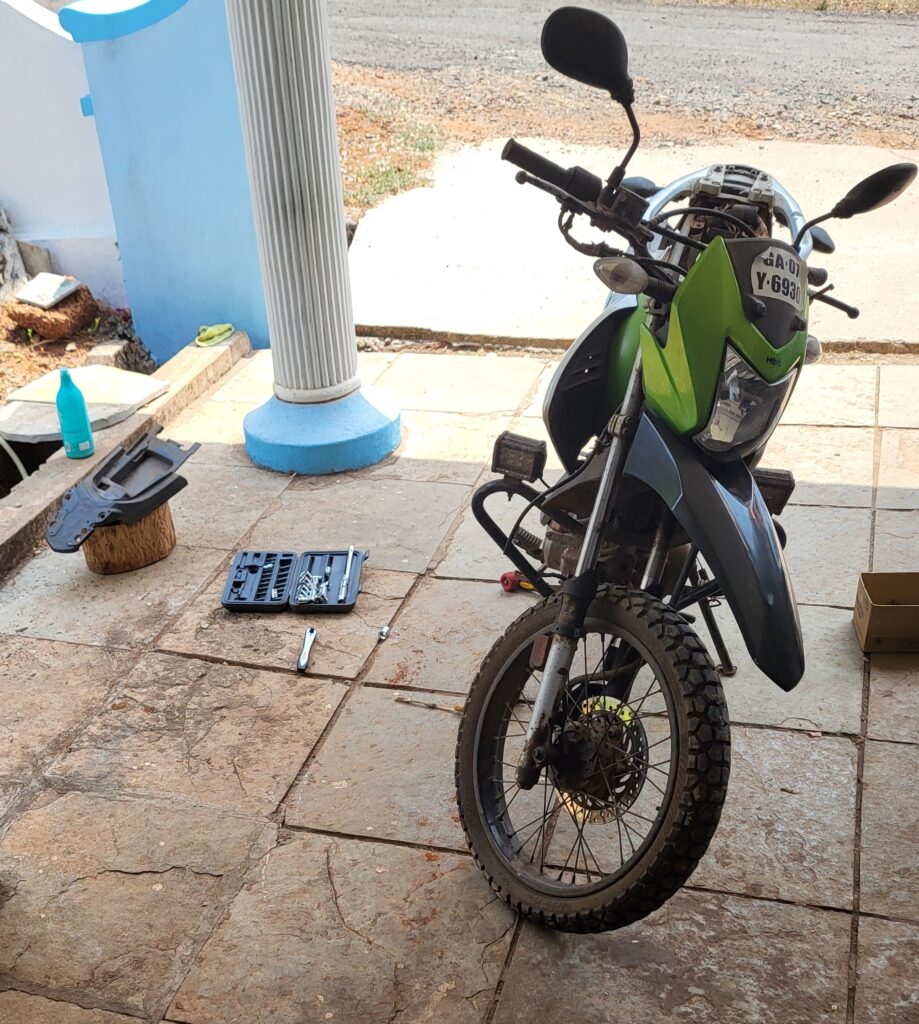
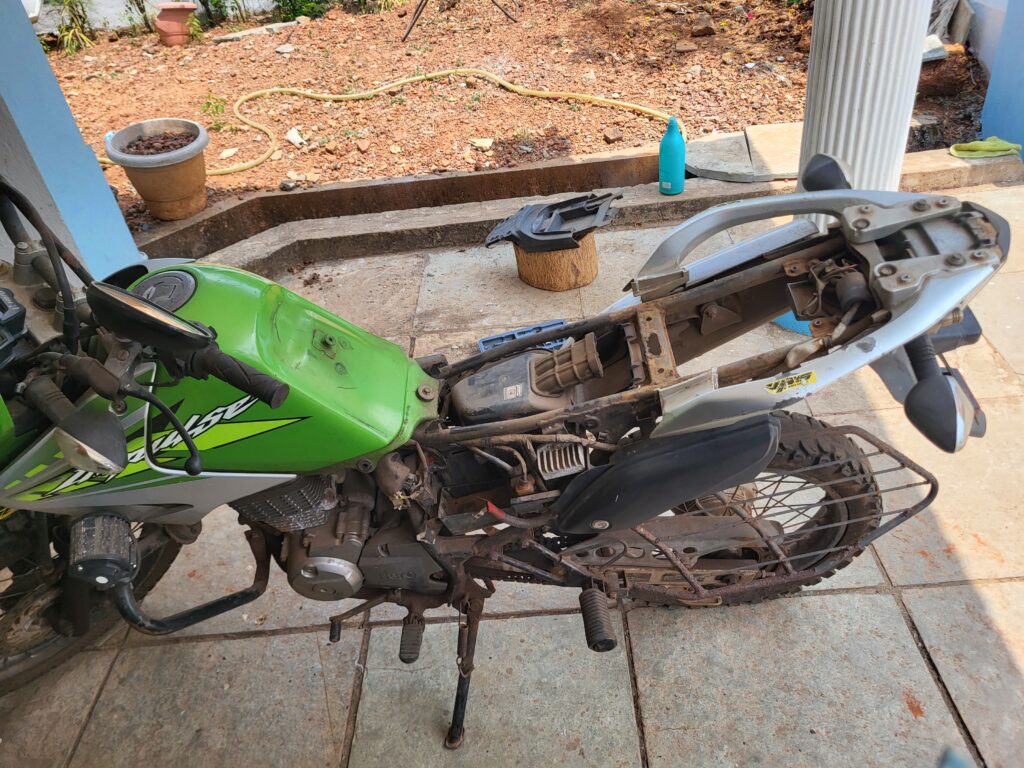
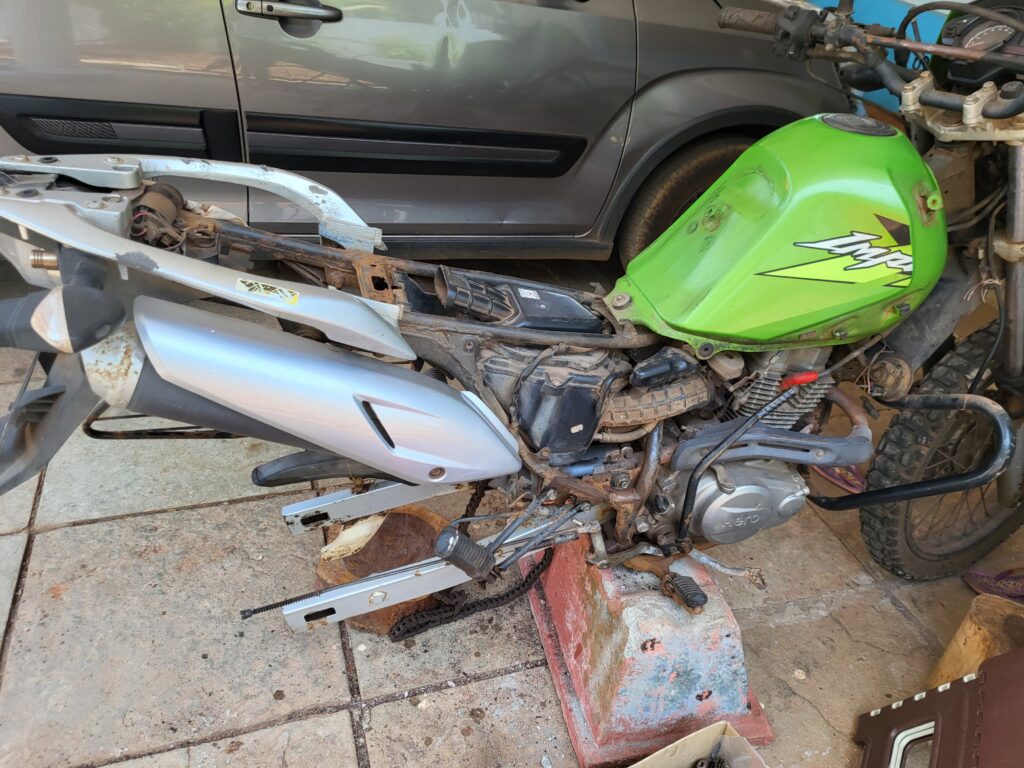
The initial state of the bike can be seen in the images below:
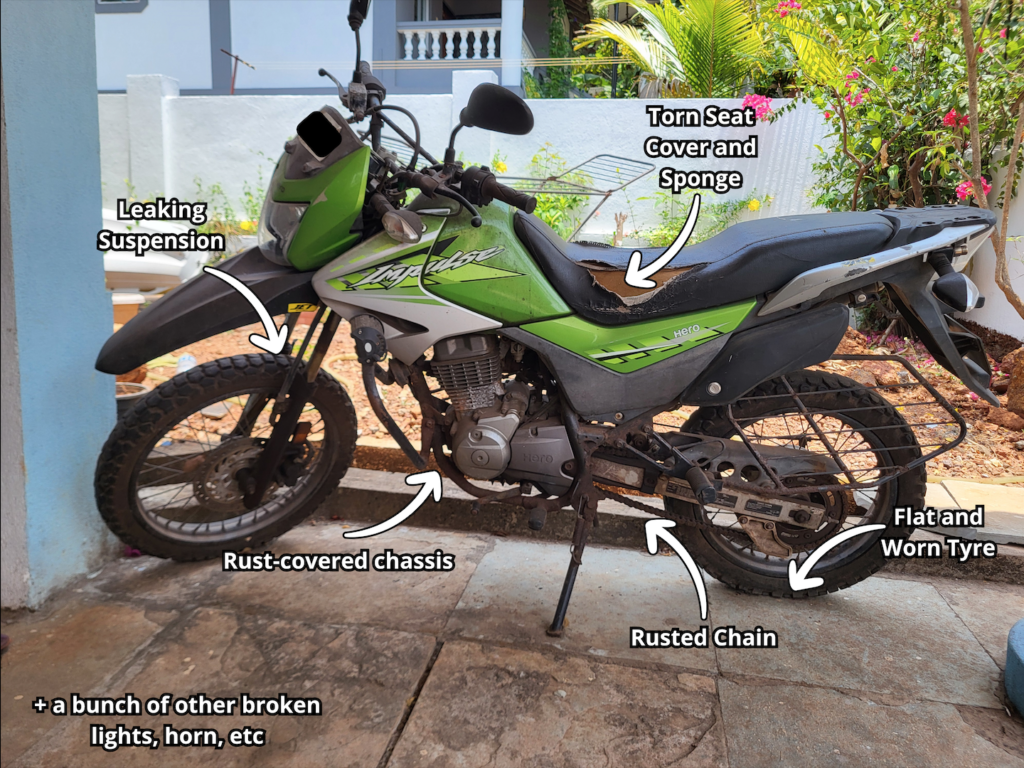
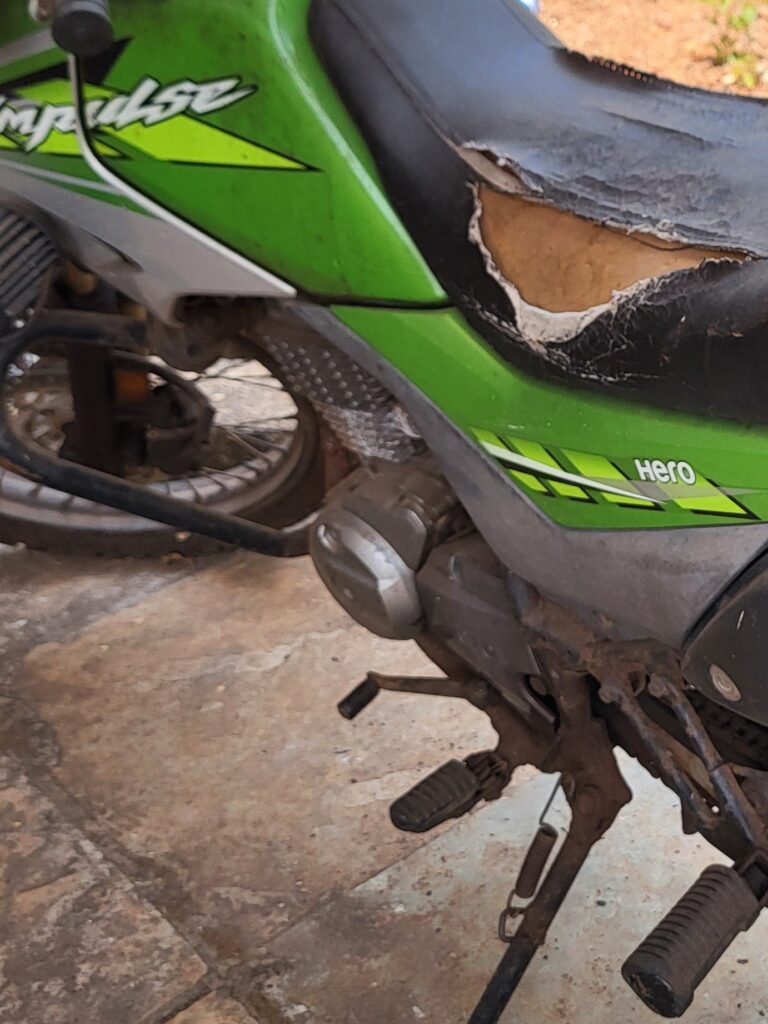
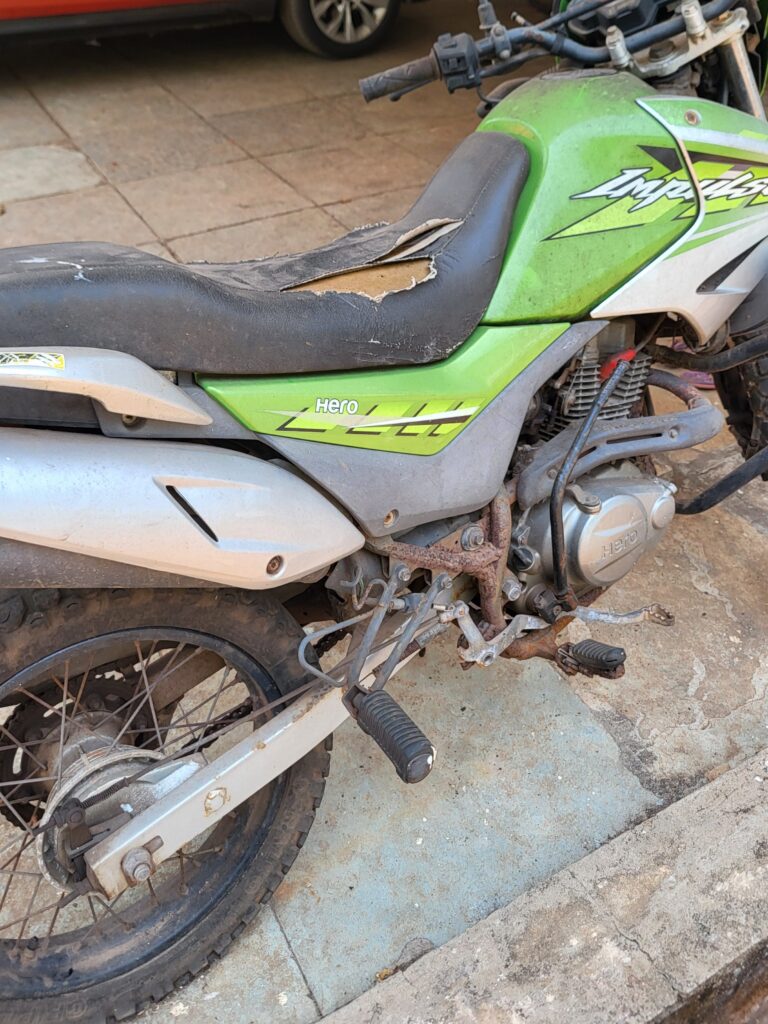
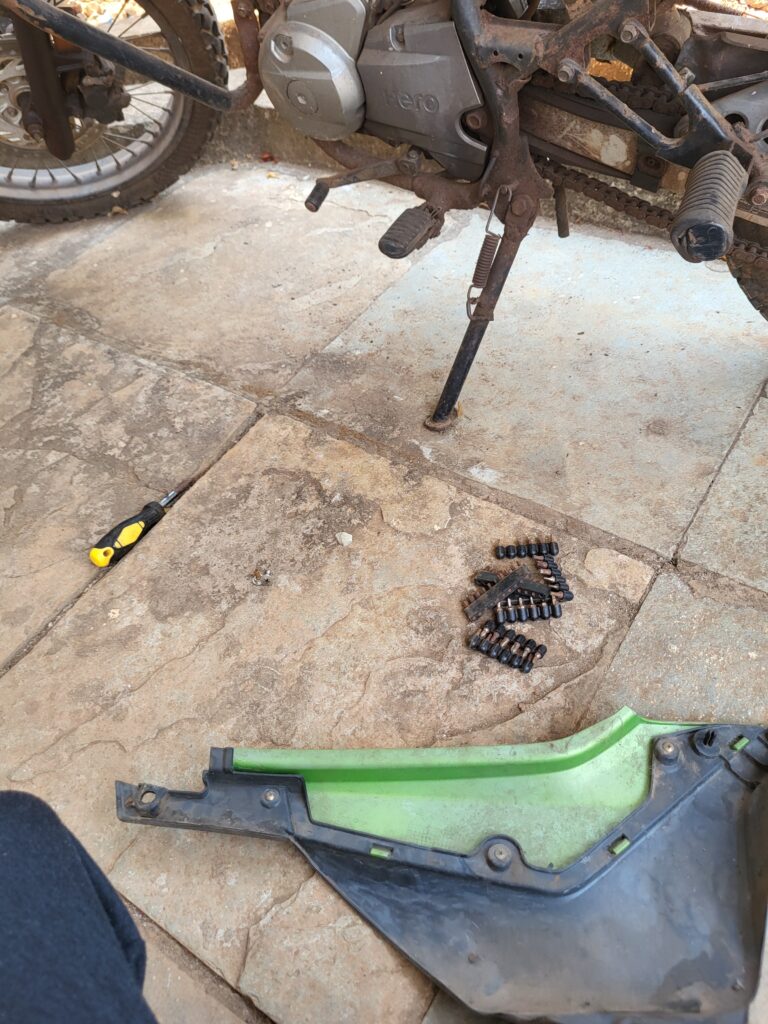
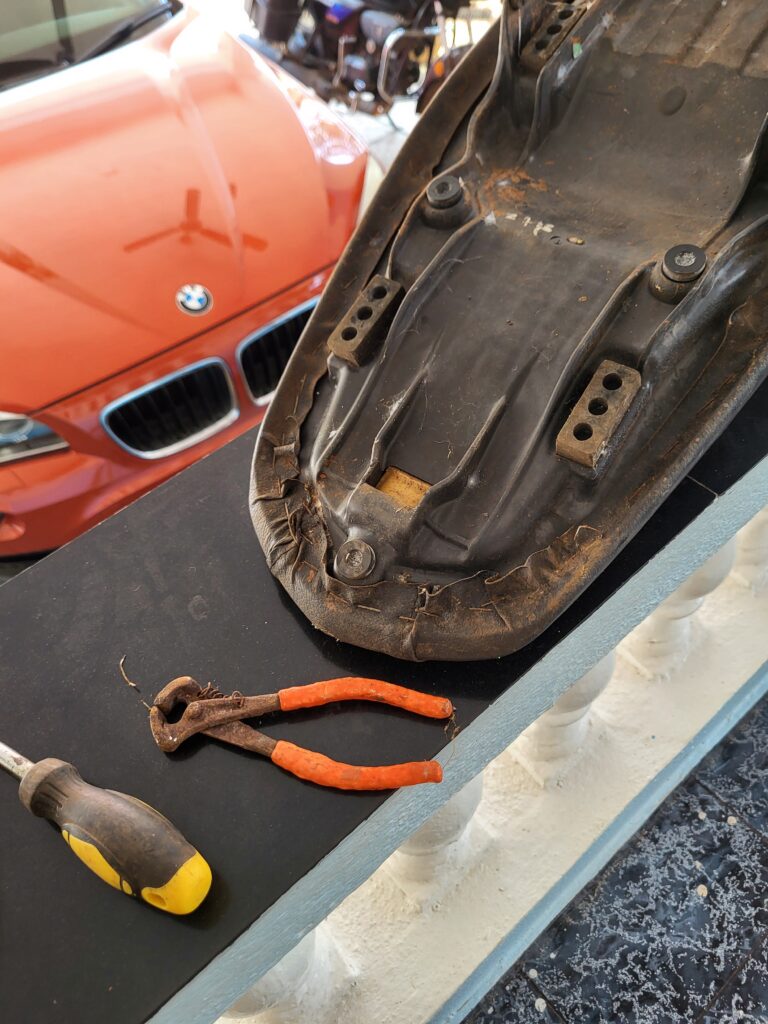
I removed the left and right body panels, exposing the battery and seat cover screws. I then removed the seat, so I could work on its upholstery. I took the battery out and sent it to get charged at a local battery shop. My aim was to do all the labour myself to see how cost-efficient I could be and get a hands-on experience.
Day 2 – 2 May 2025
Disassembly and Shopping
The next day, I pulled apart more of the bike, further exposing the chassis. I collected all the nuts and bolts in different zip lock bags to avoid mixing them up. After having assessed what I needed, I bought a bottle of handy WD-40, a set of wire brushes and some fuel.
Day 3 – 3 May 2025
Sanding and Brushing (Body work initial stage)
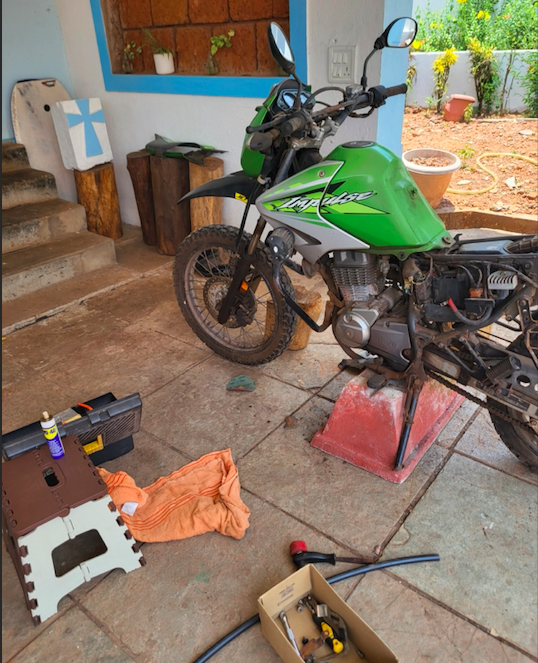
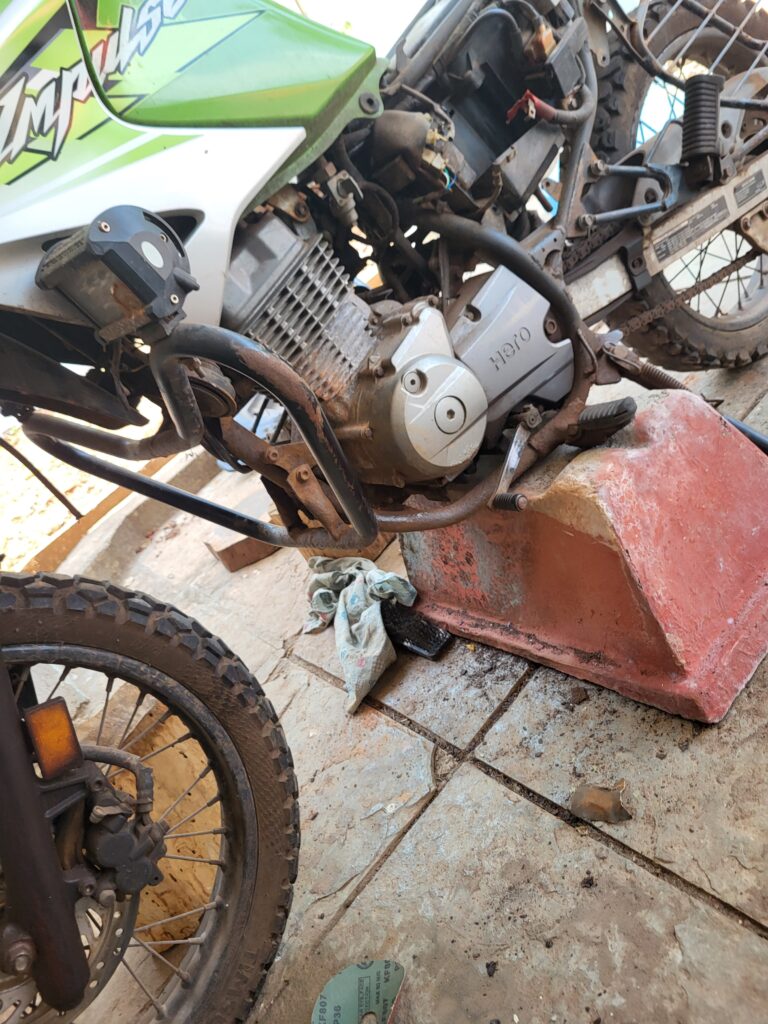
I needed to get the frame and wheels sorted, in order to have a rolling chassis. With the bike in pieces, I began restoring the parts, cleaning the frame and restoring the bike. This involved using some WD-40, a toothbrush, and wire brushes. I ran into a problem with the size of wire brushes I was using, as it was not easy to reach all internal parts of the chassis without removing the engine. This part of the process required a lot of grit and patience.
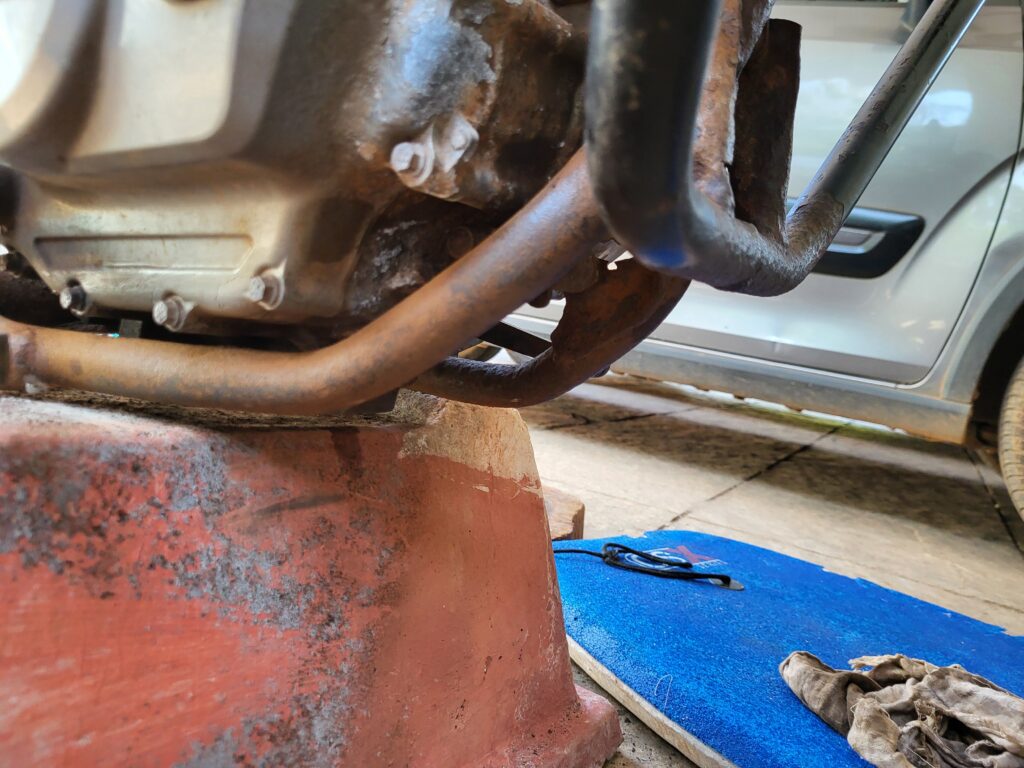
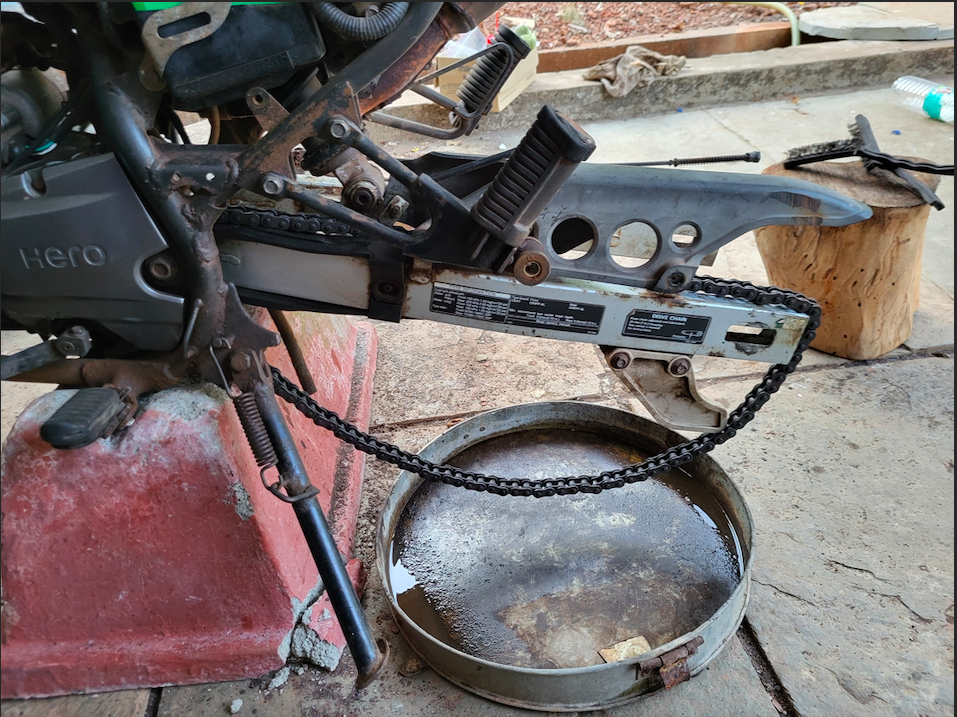
Another major issue I ran into, was that the Hero Impulse did not come with a main / centre stand. A quick fix to this solution was my mothers cement vase in the backyard. I propped up the bike on the vase, and it turned out to be a perfect fit for the high ground clearance of the Impulse.
P.S I eventually ended up breaking the vase, but I hope she never notices.
Day 4 – 4 May 2025
Rear Tyre + Spark Plug + Cleaning the Chain + Body Work
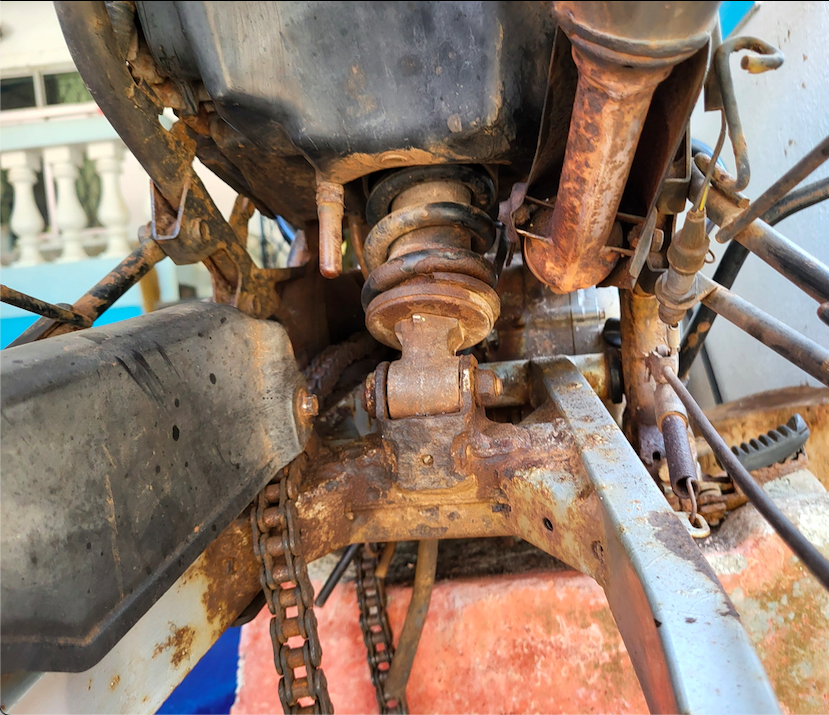
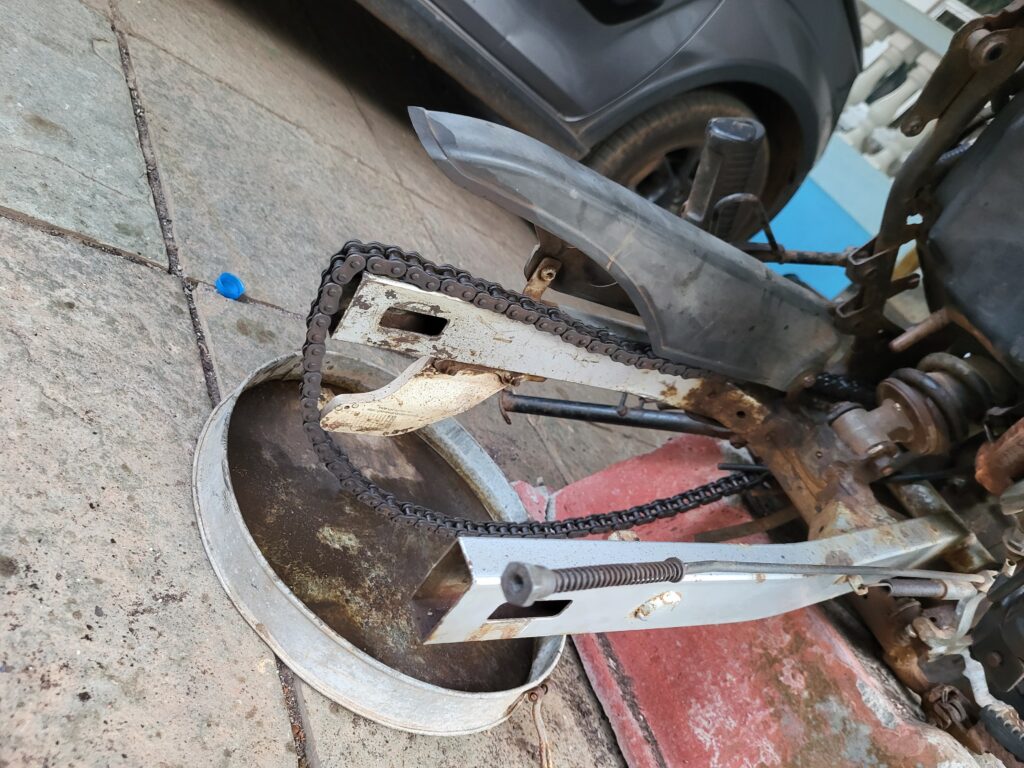
With the bike on a make-shift Paddock Stand (Vase), I was now able to divert my attention to the rear tyre. Taking a break from the intense sanding and brushing, I spent Day 4 figuring out how to remove the rear tyre. This would also give me access to more the inner side of the chassis and chain for degreasing and lubing.
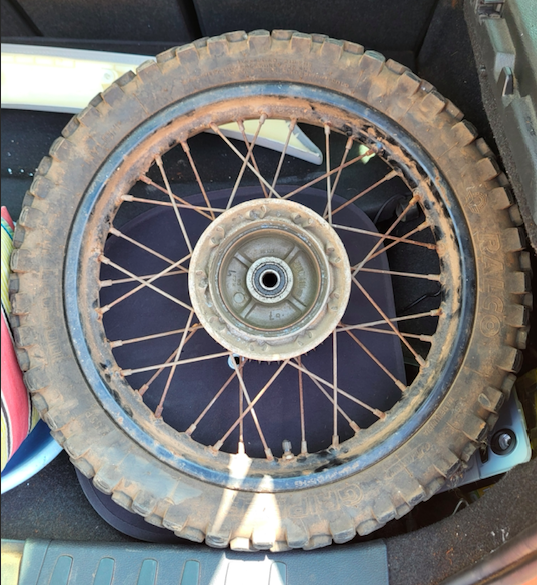
The rear tyre came off after a long struggle and along with it the brake drum, side guard and a few other parts.
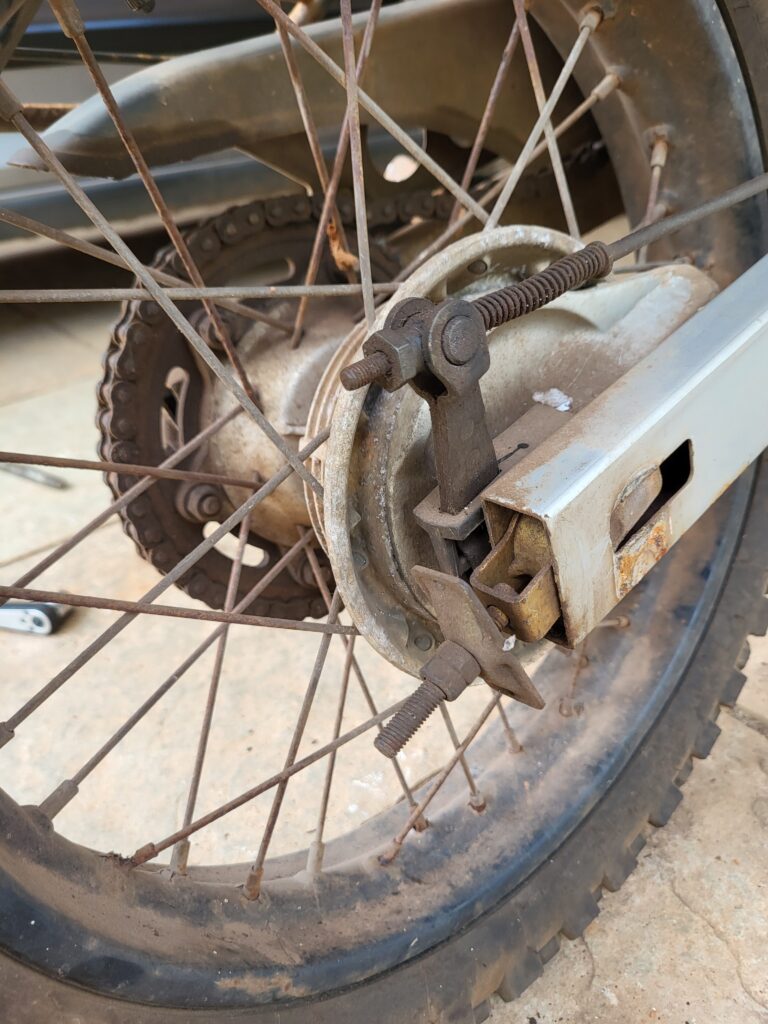
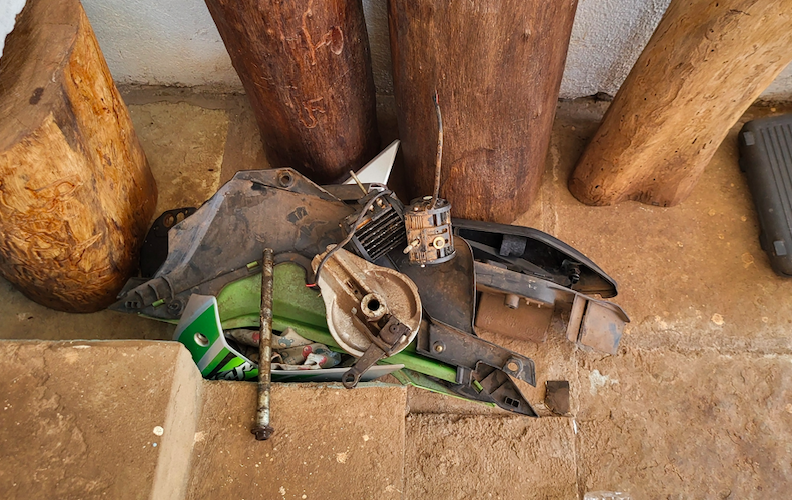
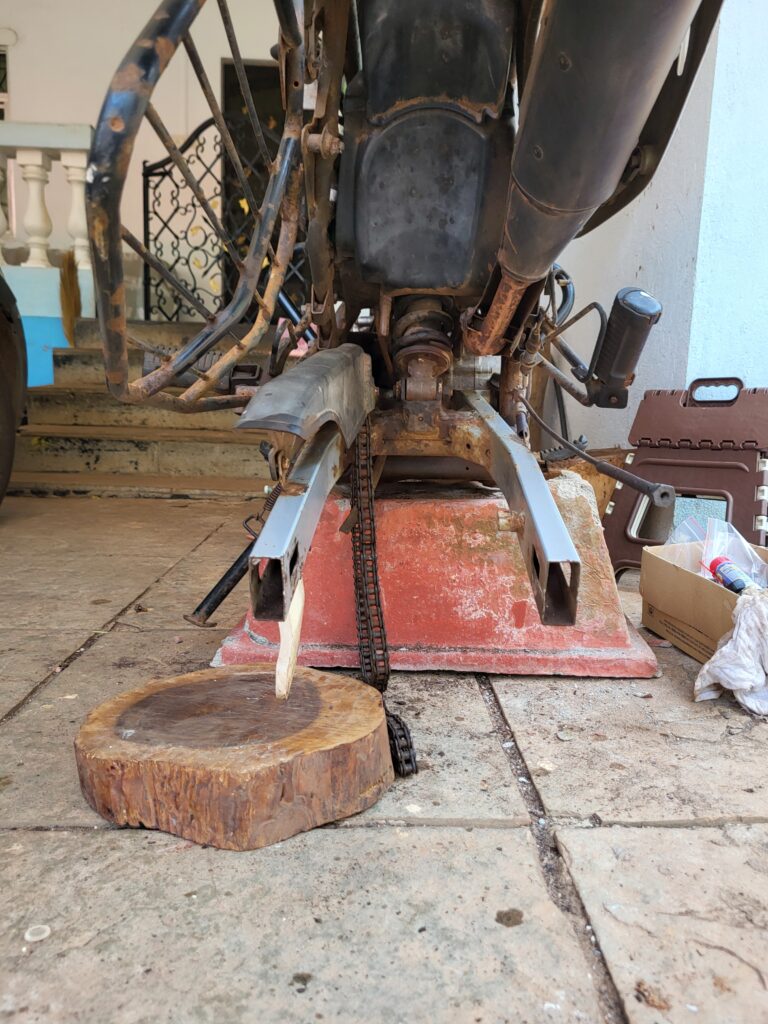
In the evening, I continued worked on sanding down and brushing off the rust. I cleaned the parts with WD-40 to unearth the silver chromium finish hidden beneath the grease and dirt.
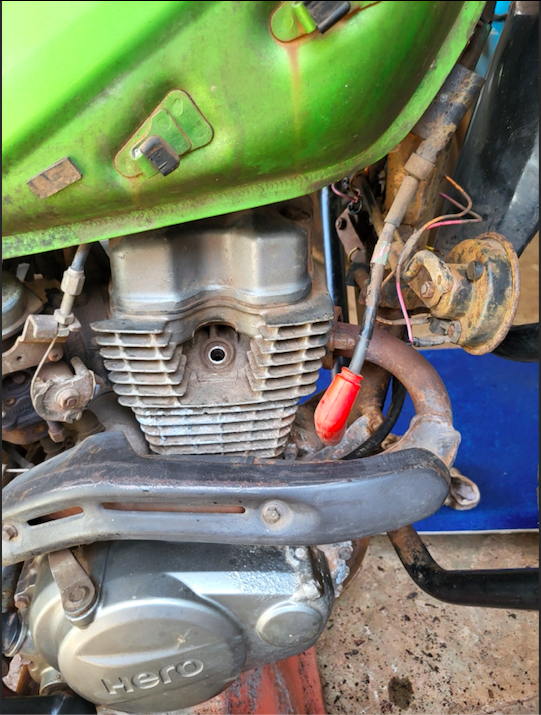
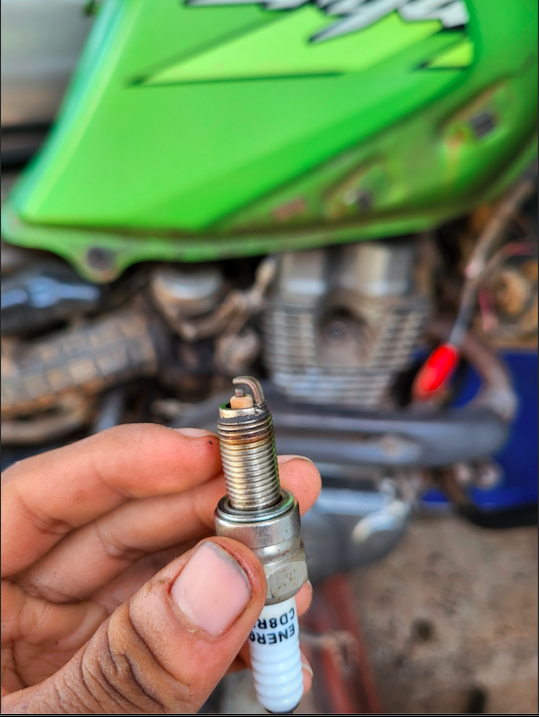
I also unscrewed the spark plug and cleaned it, hoping this would be a quick fix to the bike not starting.
To clean the motorbike chain, I soaked it in petroleum (because I did not want to buy a degreaser). I used a brush and cleaned the inner and outer parts of each bearing. I cleaned it a few times and washed it off with more petrol. Day 4 was certainly the most productive day of all!
Day 5 – 5 May 2025
Rear Tyre
On the 5th day, the only progress made was taking the rear tyre to the local tyre shop and putting on a new tyre. While the front wheel continues to have the original off-roading tyres from pre 2021, this time, due to budget restrictions, I purchased a simple all-terrain tyre for the rear. For reference, the rear wheel size is 100 90/17. We bought the tyre home and I was prepared to fit it on the next day.
Day 6 – 6 May 2025
Fitting the Rear Tyre (failed attempt)
With the new tyre ready to be installed, I once again propped the bike on the vase, raising the rear end of the bike. However, to my dismay, this process was incredibly difficult and the bike needed to be raised much higher. The bearing and brake drum had to fit in simultaneously which required more freedom of vertical movement. After trying 3 times during the entire day, we realised it would be impossible without the right tools.
Day 7 – 7 May 2025
Body work – Paint Work
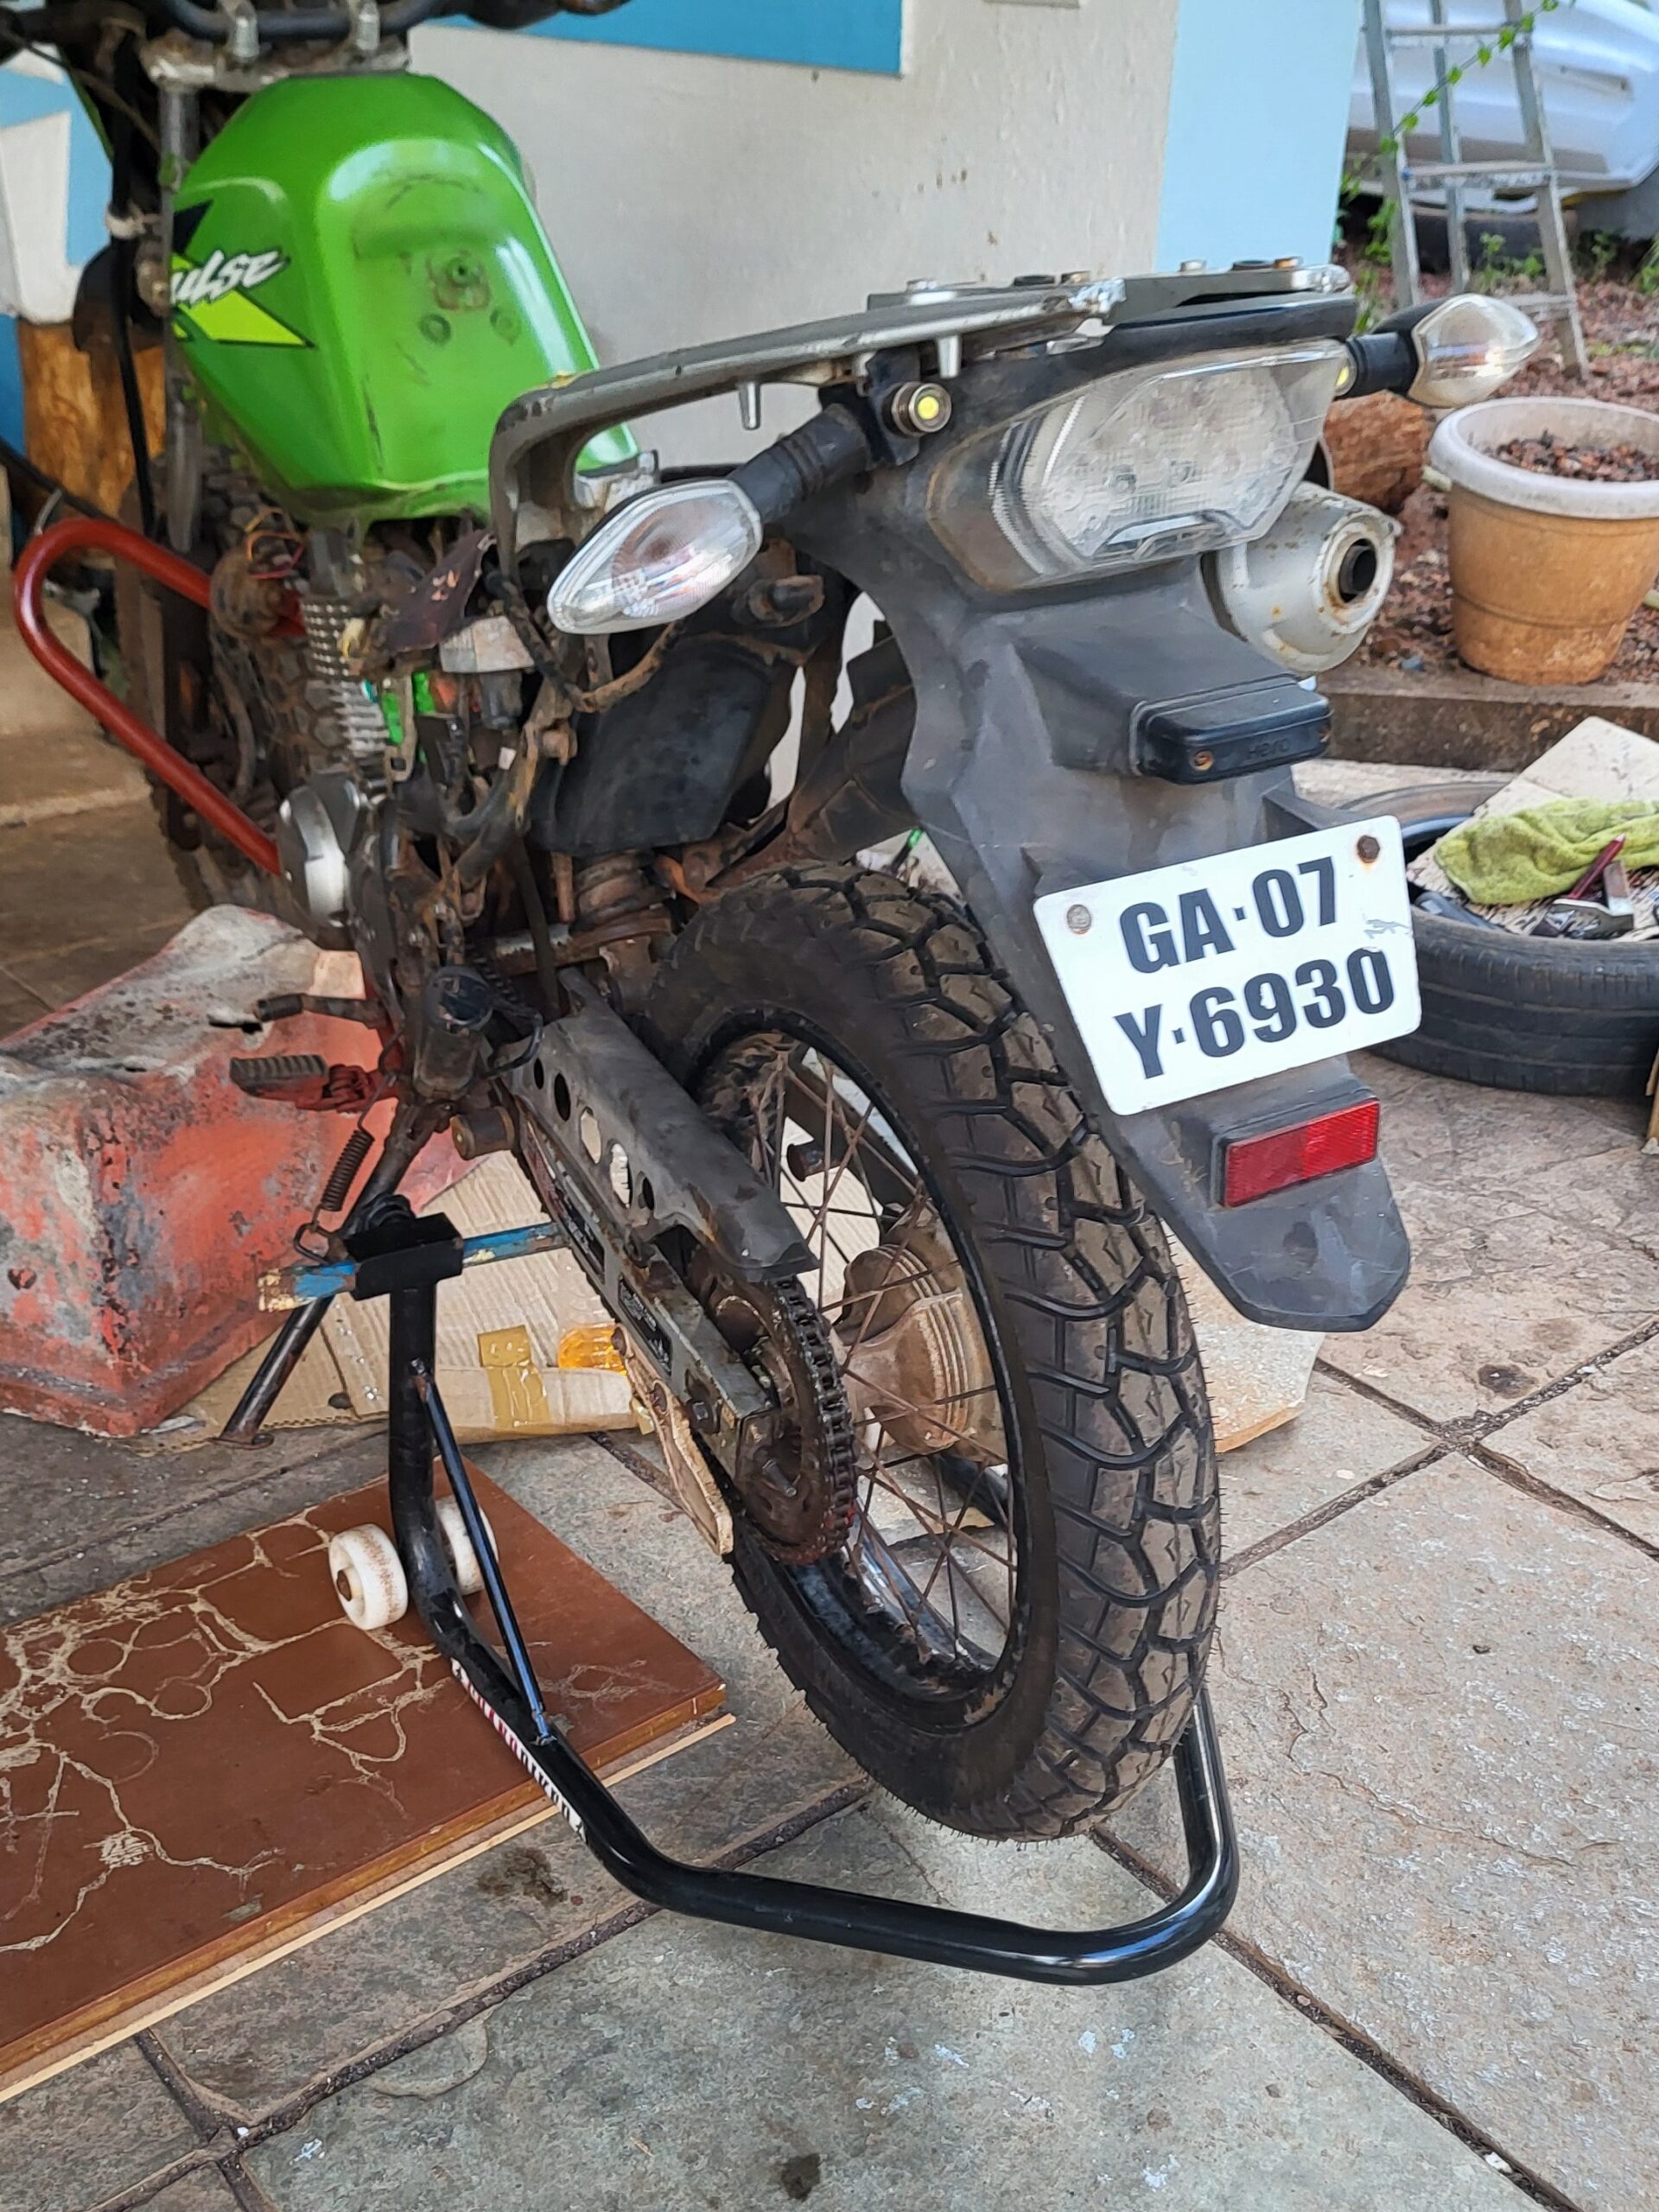
After a disappointing attempt with the new rear tyre, I contacted a friend who had a paddock stand. They very kindly allowed me to borrow it for a few days, and this was a game changer. I mounted the bike on the stand, and was able to lift it a few more inches off the ground. Fitting the tyre required two people to simultaneously ensure the bearing and brake drum both fit perfectly, so I spent the day painting the bike instead.
With the chassis completely sanded and smooth, and all red rust removed, it was ready for a layer of primer followed by a finish of paint. I began painting the side guard first with primer. Once again, it was a patient process and it took me the full day to apply the first coat of primer. I used a simple red oxide metal primer to keep the cost low.
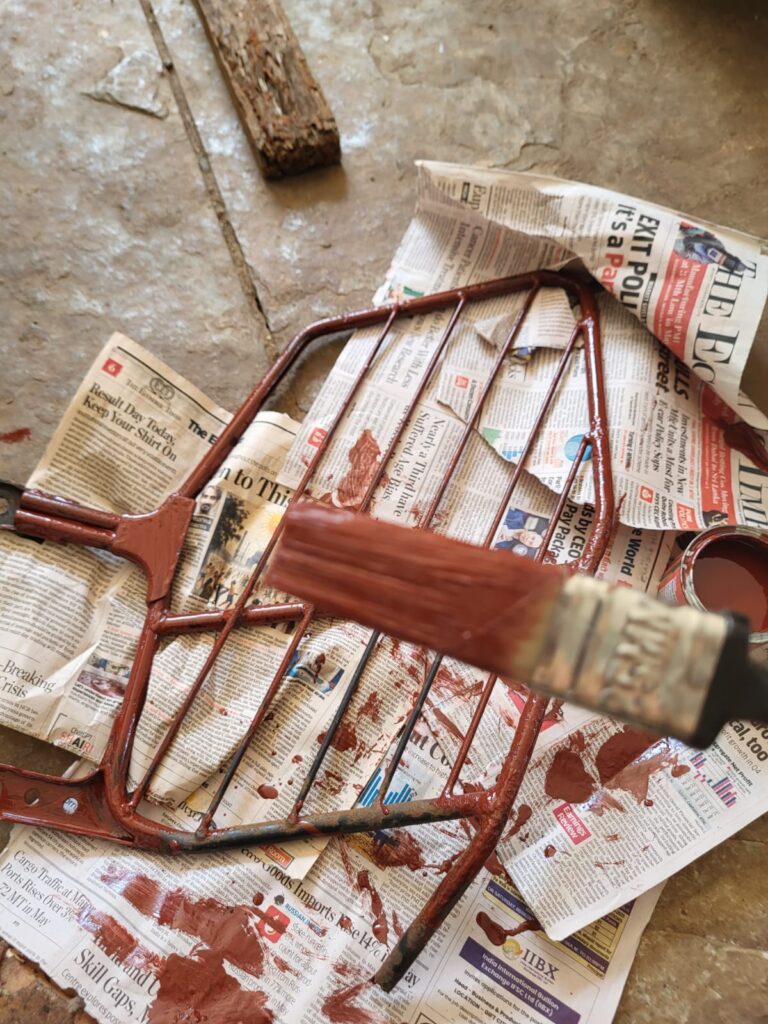
I was suggested by many people to take the bike to a professional for the paint job, however I insisted that this entire project be done at home.
Day 8 – 8 May 2025
Rear Tyre + Engine Running + Paint Work
On the morning of the eight day, I finally managed to put the rear tyre on with the help of my father and sister. The bike was still in pieces, with many parts lying around waiting to be fit back on before I could crank the engine.
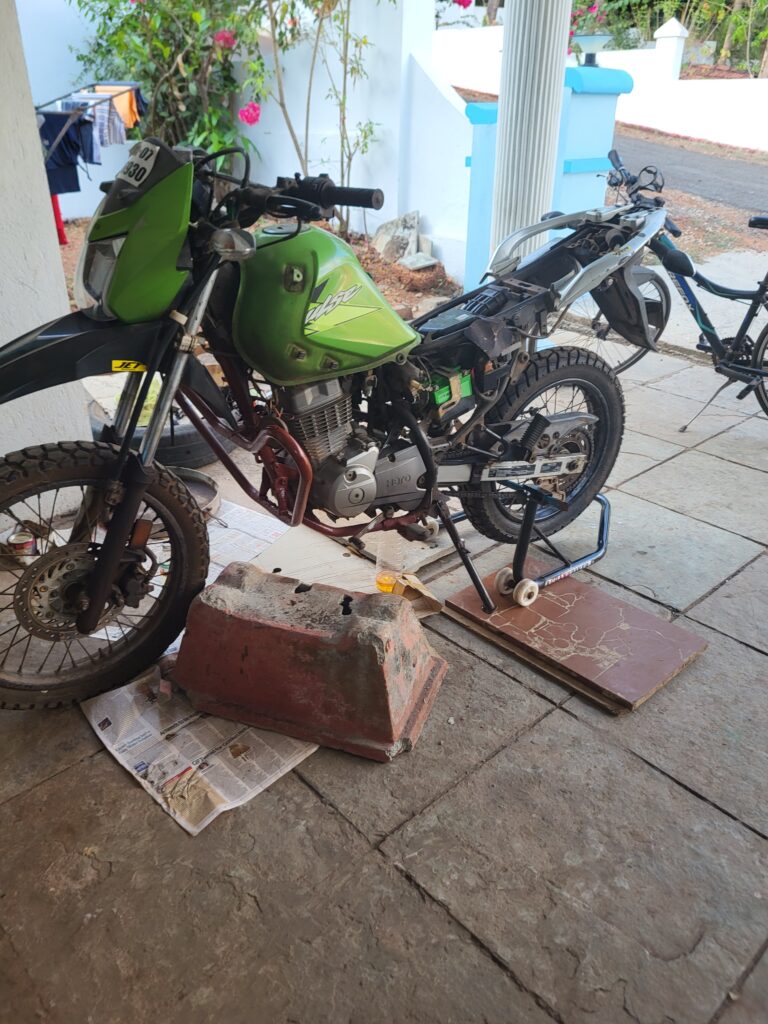
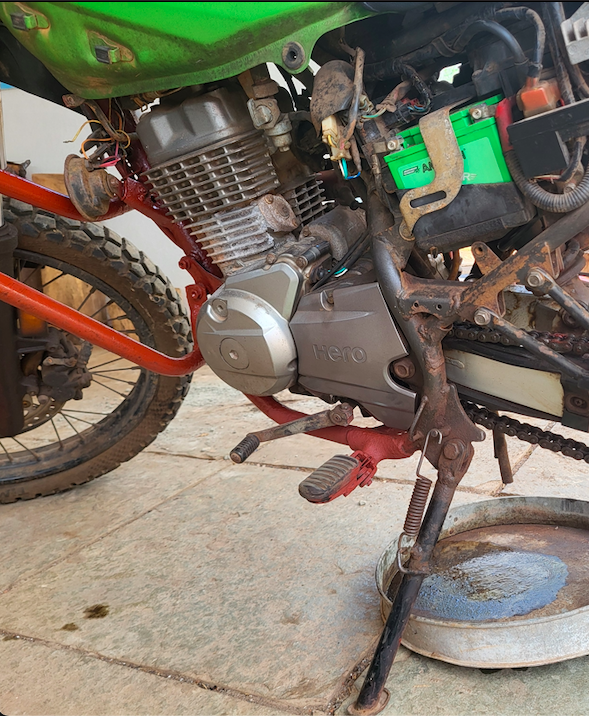
I began painting the chassis where the primer had dried completely. I used regular black glossy enamel paint, and so initially the bike looked a lot like a newly painted gate.
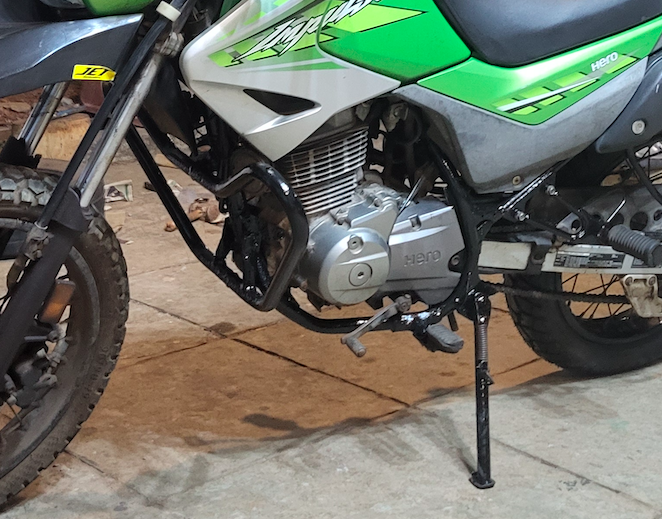
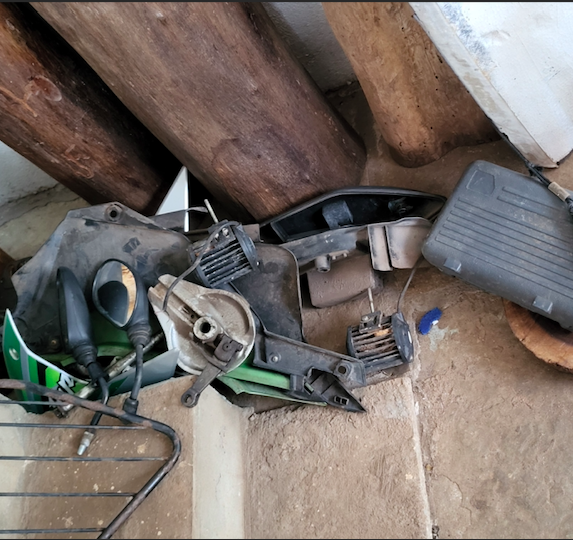
In the evening, after putting everything back together, I tried starting the bike for the first time. The battery was fully charged and I hoped the bike would start.
After a few attempts with the ignition start, the bike showed no signs of starting. It was discouraging. There was already a litre of fuel in the tank. My dad suggested I put more, and so I put another 2 litres in the tank. This time, we tried to kick start it, and all of a sudden, the bike came to life! The bike was officially running, albeit the carburettor was out of tune and the bike would not idle. After a few revs, I called it a day, pleased with the progress.
Day 9 – 9 May 2025
Paint Finish + Hand Brake
The next morning, I woke up horrified to see a pool of petrol under the bike dripping from the carburettor overflow pipe. The carburettor definitely needed to be checked. However, the bike was not in a condition to be ridden until the handbrake was working.
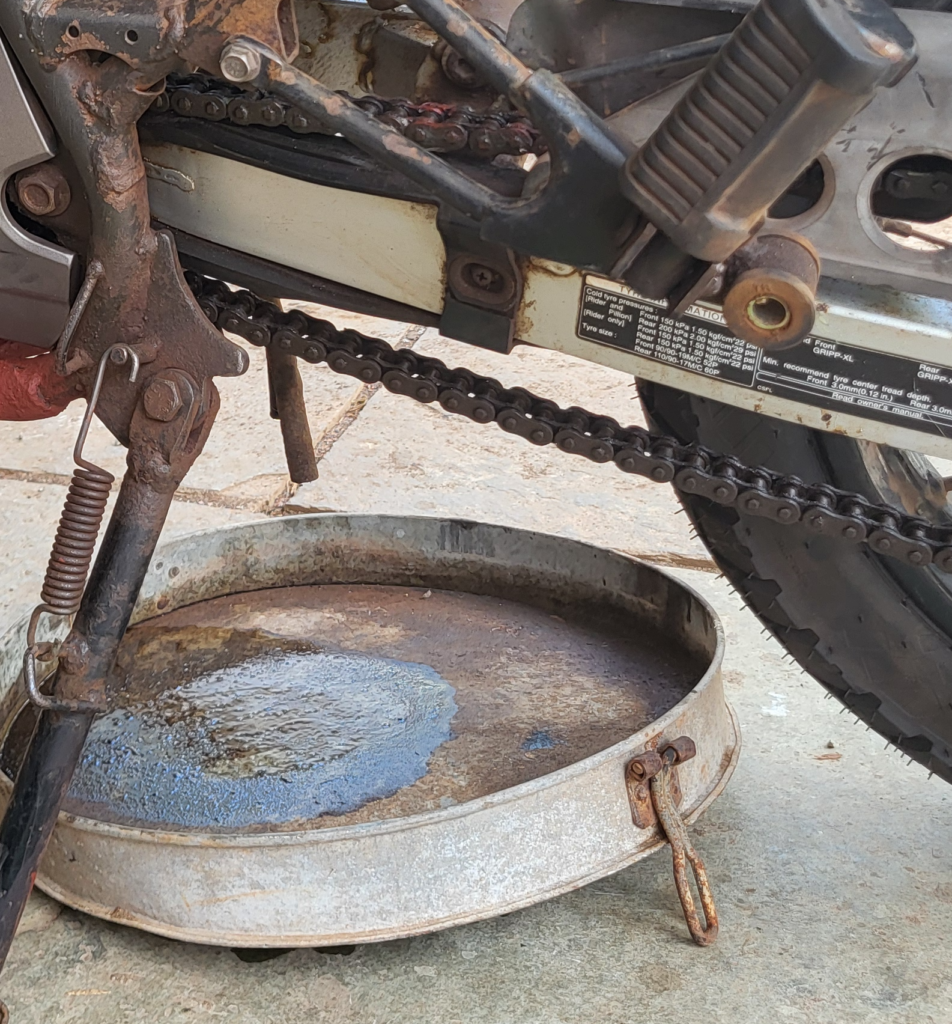
For the remainder of the day, I finished the paint work.
Day 10 – 10 May 2025
Handbrake + First Ride
When I first realised the handbrake was not working, I assumed the handbrake fluid must have completely dried up. Once again, another friend was very helpful and had some spare handbrake fluid at home.
The screws on the handbrake cylinder had completely given away and it was a pain to open the lid. I had to dig into the plastic with a screwdriver and pry it open. After cleaning the handbrake fluid cylinder and pumping in the fluid, the hand brake was working and the bike felt ready to be taken out.
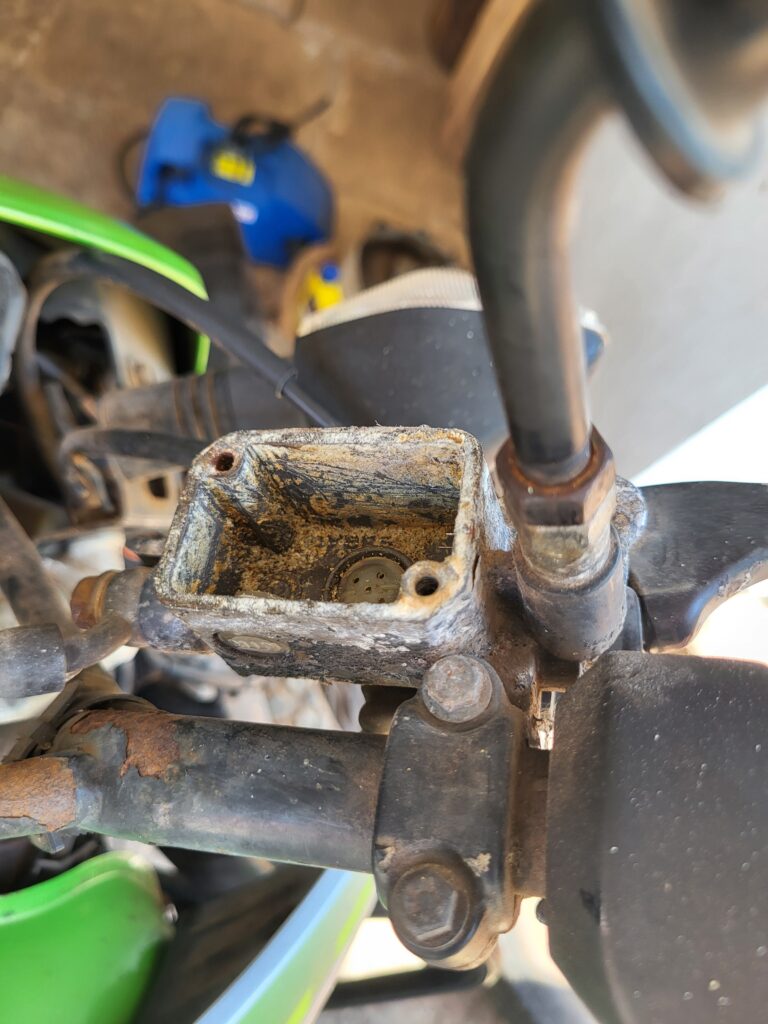
After finishing the paint job, letting it dry and giving the bike a good wipe, I took the Impulse for its first ride.
I had officially completed my challenge in 10 days!
Updates + Future Plans
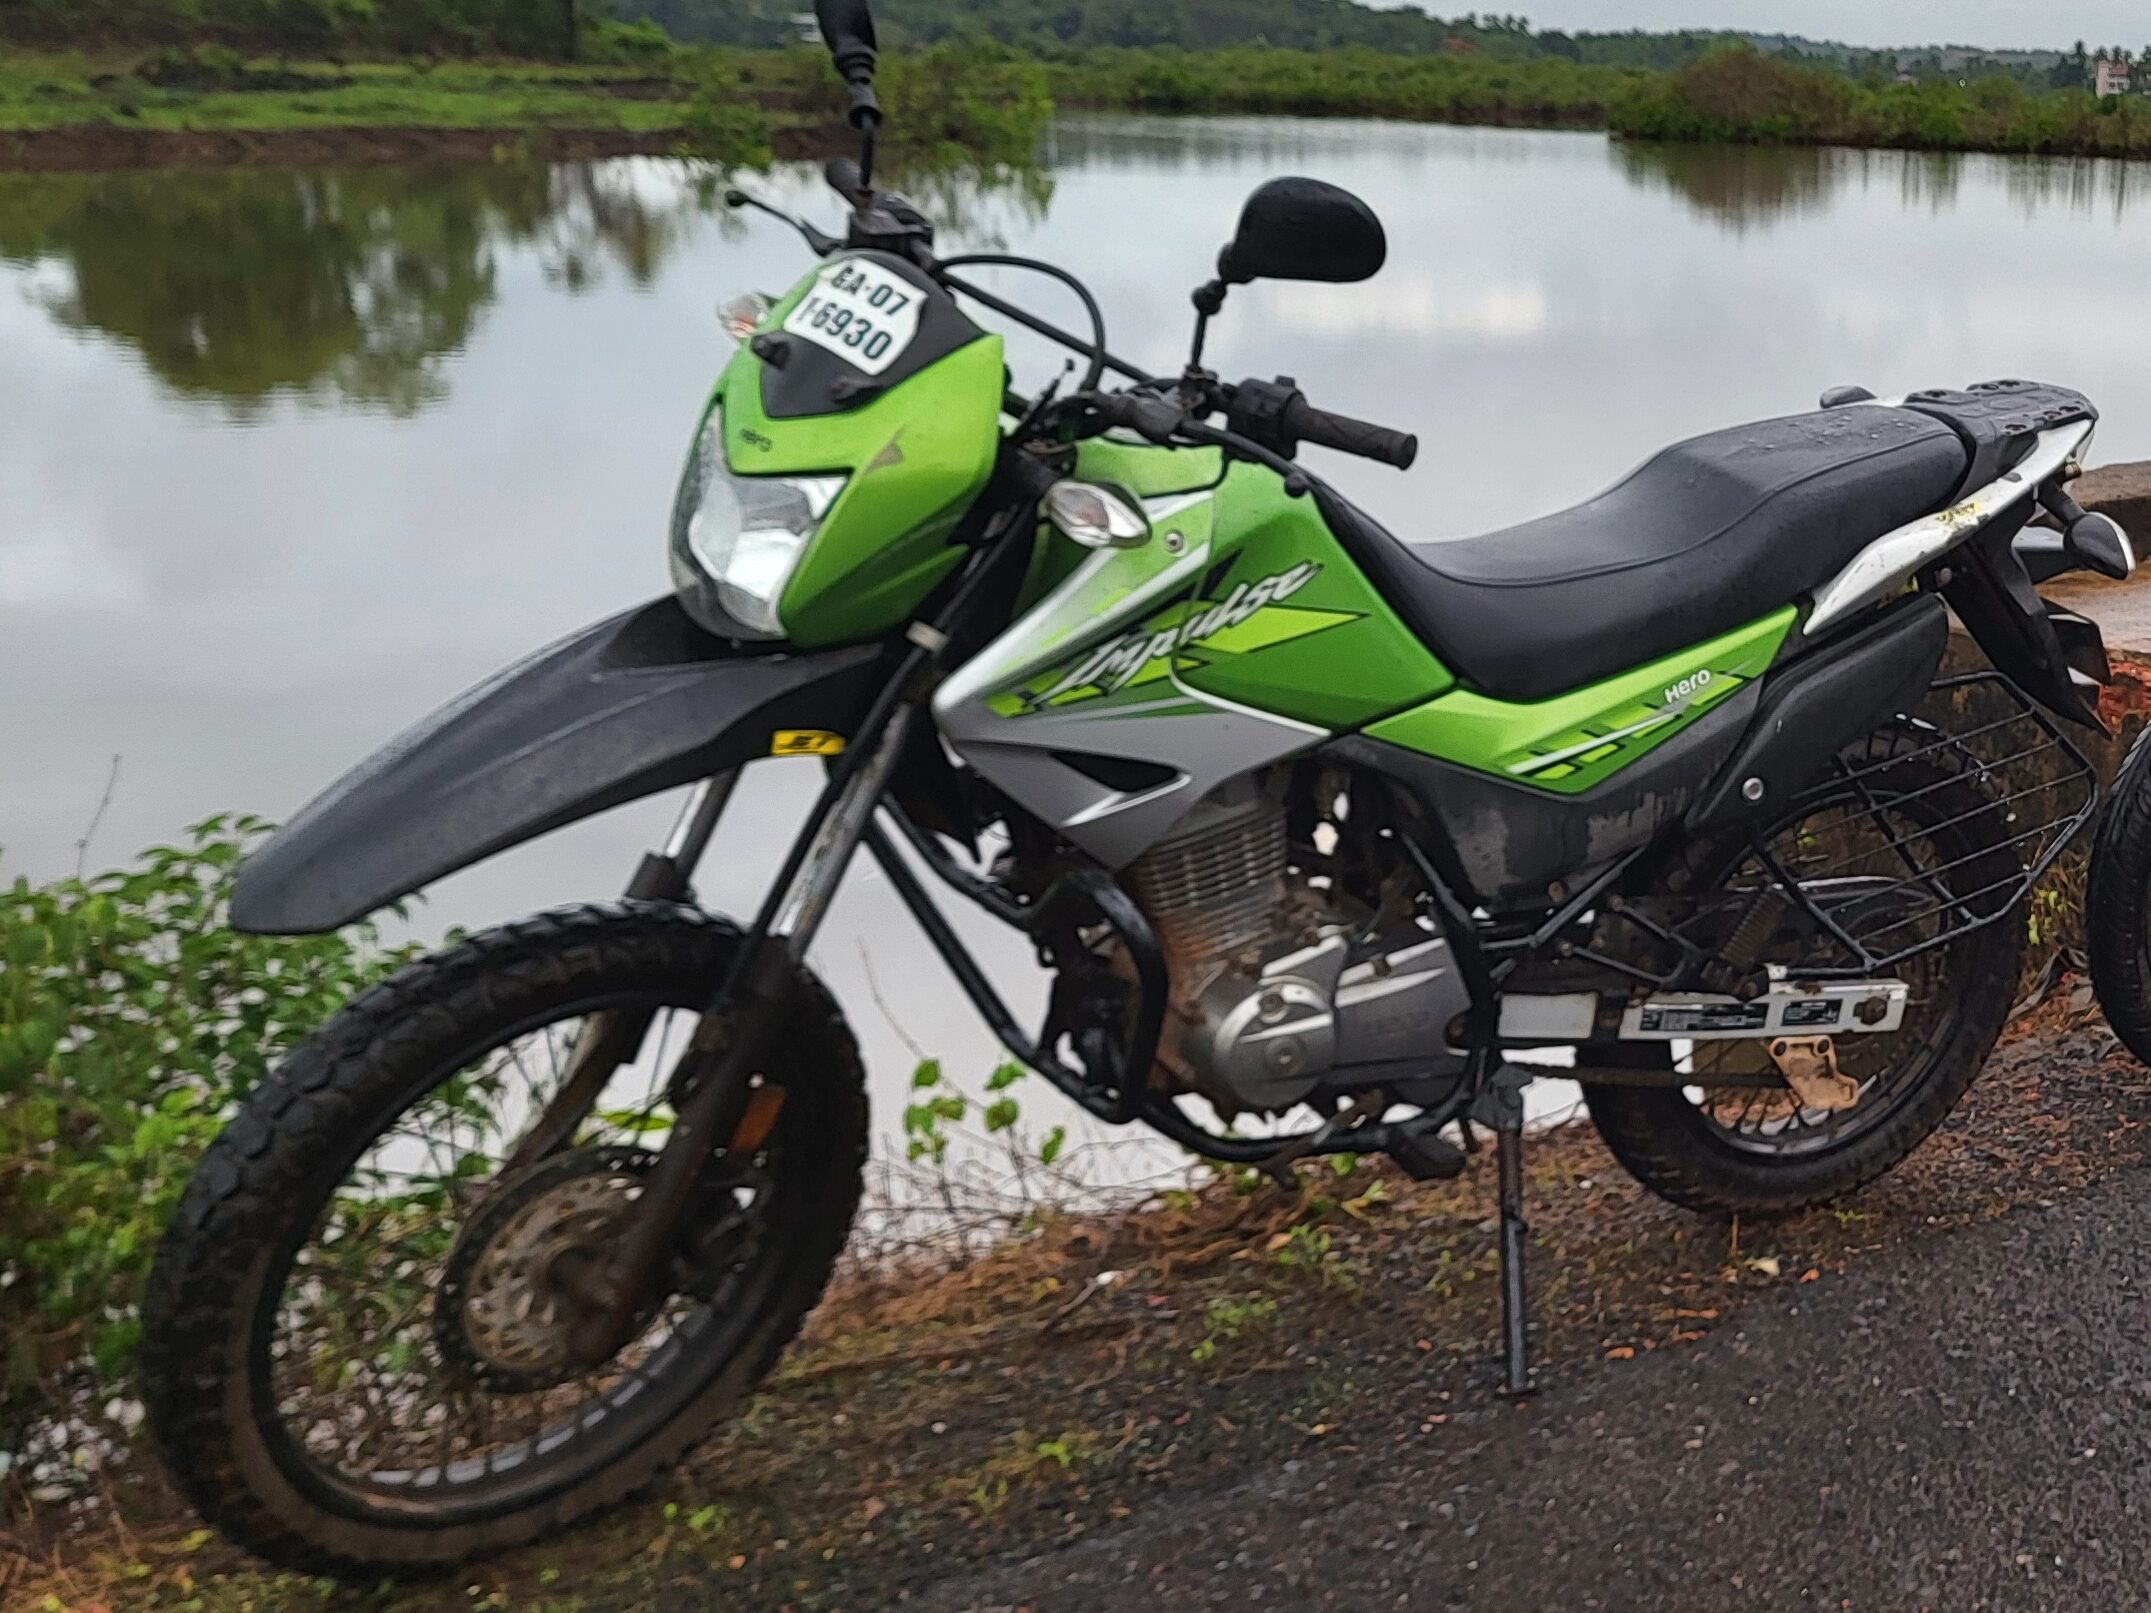
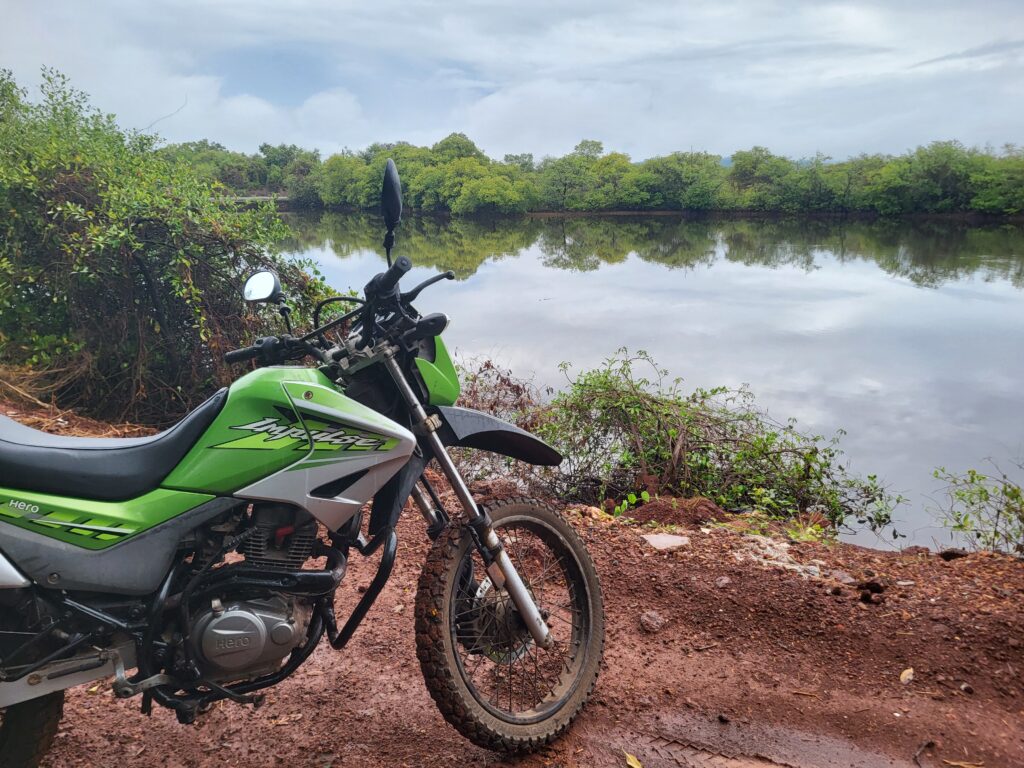
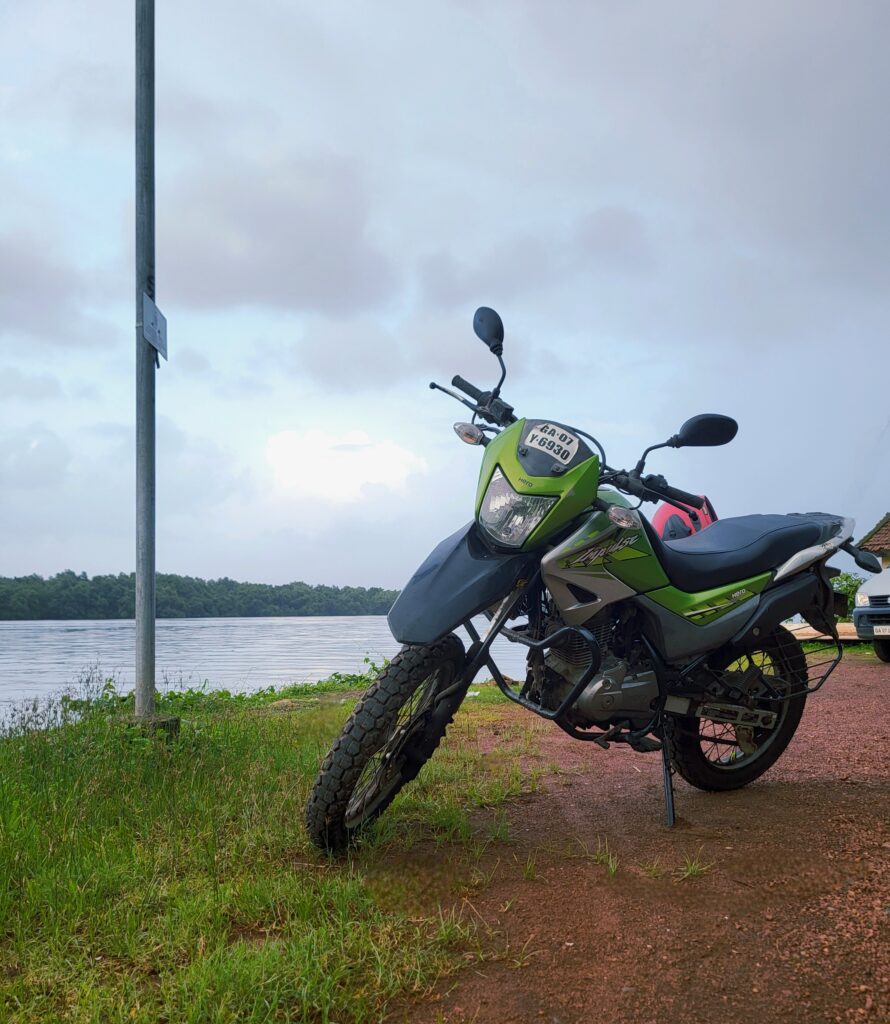
Since then, over the last few weeks, I’ve taken the carburettor out and gotten it cleaned. After a few days of riding, the fuel stopped leaking and I’ve been using the bike daily ever since. The bike still needs to be kick start each time, and it can’t idle either, but for now, I am happy with the progress.
In the near future, I plan on doing basic modifications and upgrades such as a body wrap (perhaps a change of colour too?), knuckle guards, visor, bash plate, LED lights, new shocks and suspension and more.
Let me know in the comments of this blog post or on my instagram any ideas and suggestions you have for this project!
Project Cost Breakdown
| Item / Service | Cost (Rs) |
|---|---|
| Battery | 100 |
| Sandpaper | 50 |
| Seat Cover / Upholstery Work | 300 |
| Petrol (3 bottles) | 300 |
| WD-40 | 135 |
| Paint ( Metal Oxide Primer and Black Enamel Glossy) | 350 |
| Wire Brush Set | 200 |
| Turpentine | 100 |
| Rear Tyre | 2000 |
| Total Spent | 3585 |

Gavin Furtado
Simply amazing! Really impressed with your job, very well done. Looking forward to meeting you again and hopefully go for rides together like our dad’s used to!
Lucius De Almeida
Thank you so much Gavin! Looking forward to meeting you as well 🙂